Activate and configure the Slice tool in the censhare Client. Users can then divide images into different areas.
Prerequisites
In the censhare standard configuration, the image slicing tool is deactivated.
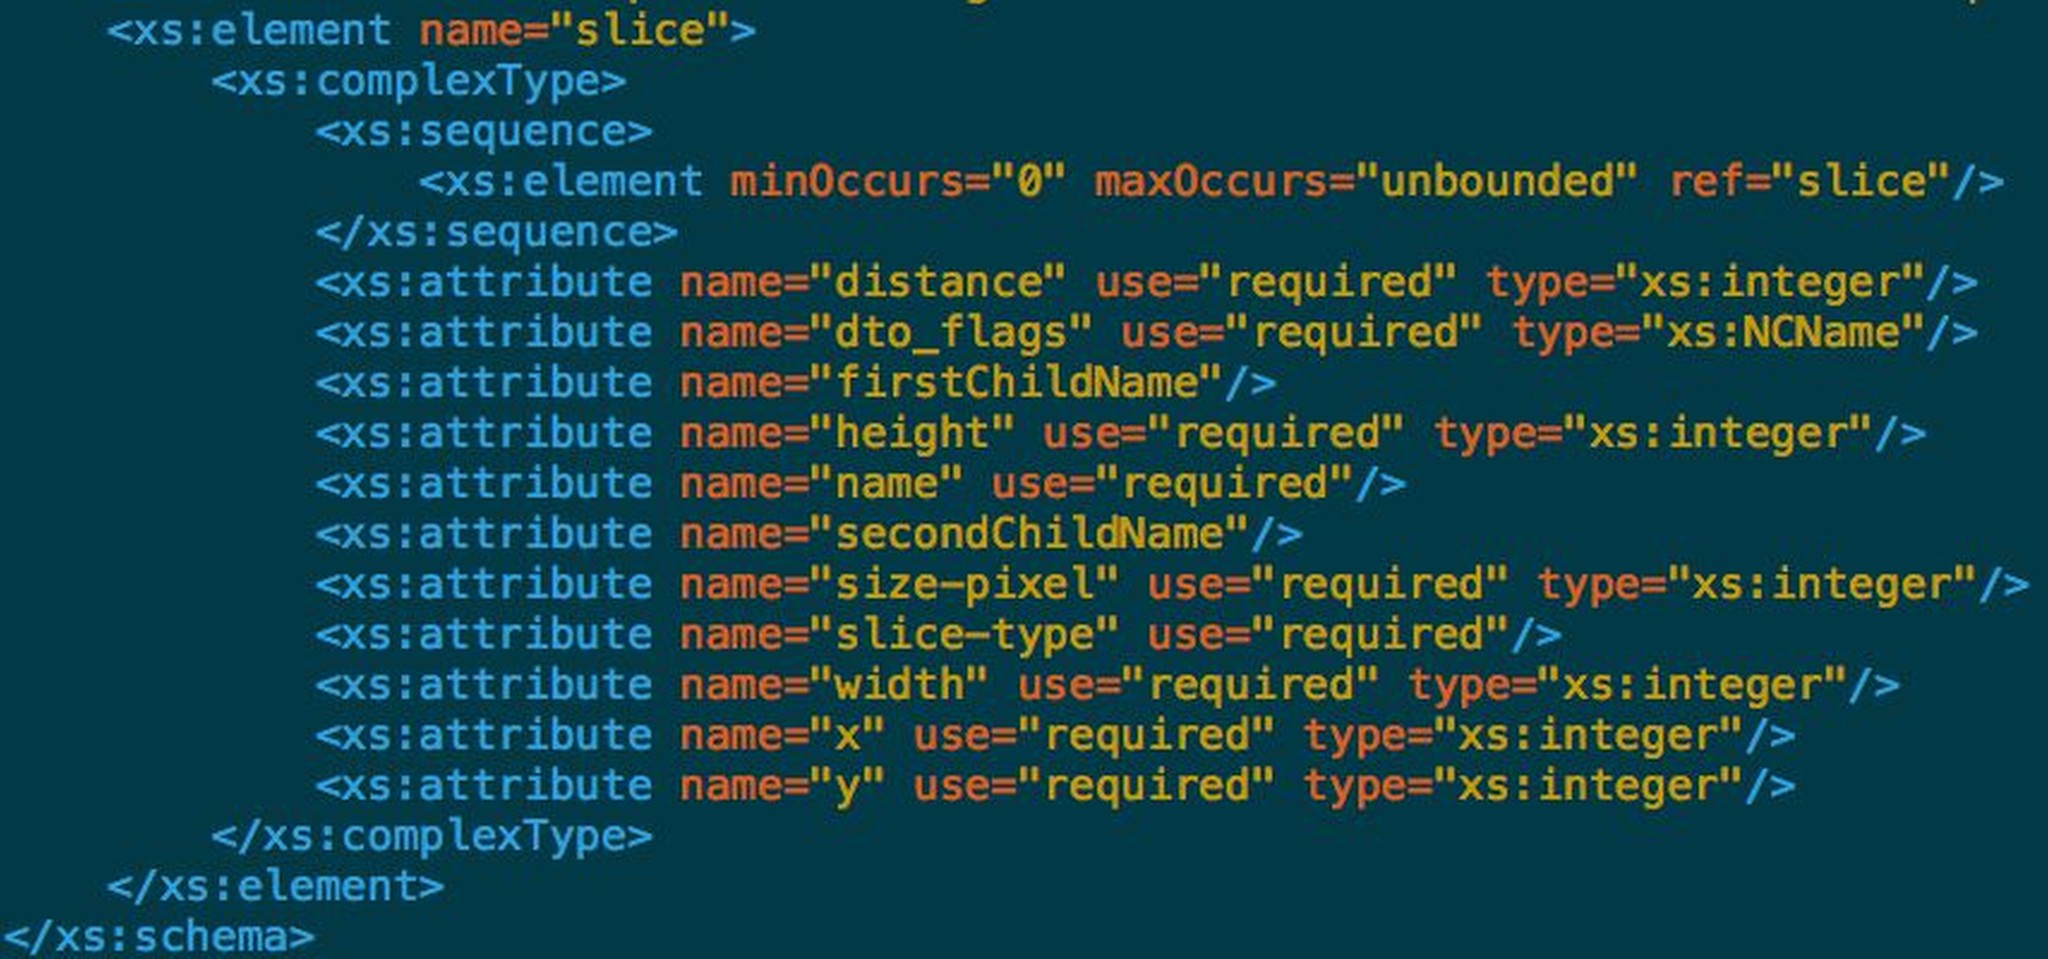
By closing the metadata dialog box the slice definition gets stored in the internal asset feature "censhare: slice-tool.slice in the asset XML structure.
Relative values for the source attribute are allowed. Then source="xmldata.slice" can be used instead of: source="asset_feature[feature='censhare:slice-tool.slice'].xmldata.slice" . You may also add any kind of data by tweaking the dialog definition. Any non-slice XML is saved and stored in the slices objects.

For further processing of the slices and the conversion to the subassets via transformation, the installation of …/censhare-Server/install/assets/optional/transformation-variant/XSLT-sync-slice-asset.censhare-assets is required.
It can be configured in the module Transformation/Execute XLST , "transformation.aa-xslt-execution-action". Here you can set the "XSLT Styesheet" for a slice transformation named "Slice asset synchronisation.xsl" and save the action under any name you prefer.
After users have created and stored slices in the Metadata dialog, they can execute the transformation.
The slices are then attached as child assets under the Image asset. Users can now use the slices for further processing in newsletters or embedding in HTML pages.
If the function is not needed, the tool can be disabled in the censhare Admin-Client in the XML of the client asset dialogs.
<!-- slice tool -->
            <xe:tab id="slice-tool" title="${slice-tool}" visible="=:exists(asset/storage_item[@key='preview'])">
          <xe:scrollpane align="down">
            <xe:include key="dialog-asset-edit-slice-tool"/>
          </xe:scrollpane>
        </xe:tab>
XML