Video transcoding with FFmpeg
Video assets with large or uncompressed video data can be transcoded as small files for the web and other devices.
Introduction
FFmpeg includes multi-threading support and support of more than a hundred video codecs for transcoding.
It is licensed via LGPL (Lesser GPL). Problems arise with the use of additional codices such as X. 264, which brings better results, but is under GPL and therefore may not be installed on censhare. One of the biggest strengths of
If not already installed, go to the official download area where you can find binaries for Linux, Windows and OS X. In case of doubt compile it yourself from the latest source code.
For moderate use cases, FFmpeg is sufficient as an only encoding solution. Depending on the size and quantity of video data you must think early enough about scalability in IT project planning. If you want to keep load of your application servers, you should operate FFmpeg separately on one or more service clients. In the default setting, FFMpeg can easily consume over 7 percent of the CPU by itself when transcoding despite a modern Quad-core i50 CPU.
Prerequisites
You must always activate FFmpeg to generate previews (still images) for videos, even if you want to use AWS Elemental MediaConvert or Amazon Elastic Transcoder for video transcoding.
For more information on the AWS Elemental MediaConvert setup with FFmpeg, see Video transcoding with AWS Elemental MediaConvert.
Configuration
After deploying censhare Server, you must import the supplied decoding preferences from the server's installation folder.
For FFmpeg you can find a basic configuration of popular presets at:
censhare-Server/install/assets/optional/preset-ffmpeg Included are (resolution = vertical):
FFmpeg MP4 MPEG4 AAC 1080p
FFmpeg MP4 MPEG4 AAC 720p
FFmpeg MP4 MPEG4 AAC 480p
FFmpeg MP4 MPEG4 AAC 360p
FFmpeg JPEG (still image)
FFmpeg HLS MPEG4 AAC (Streaming)
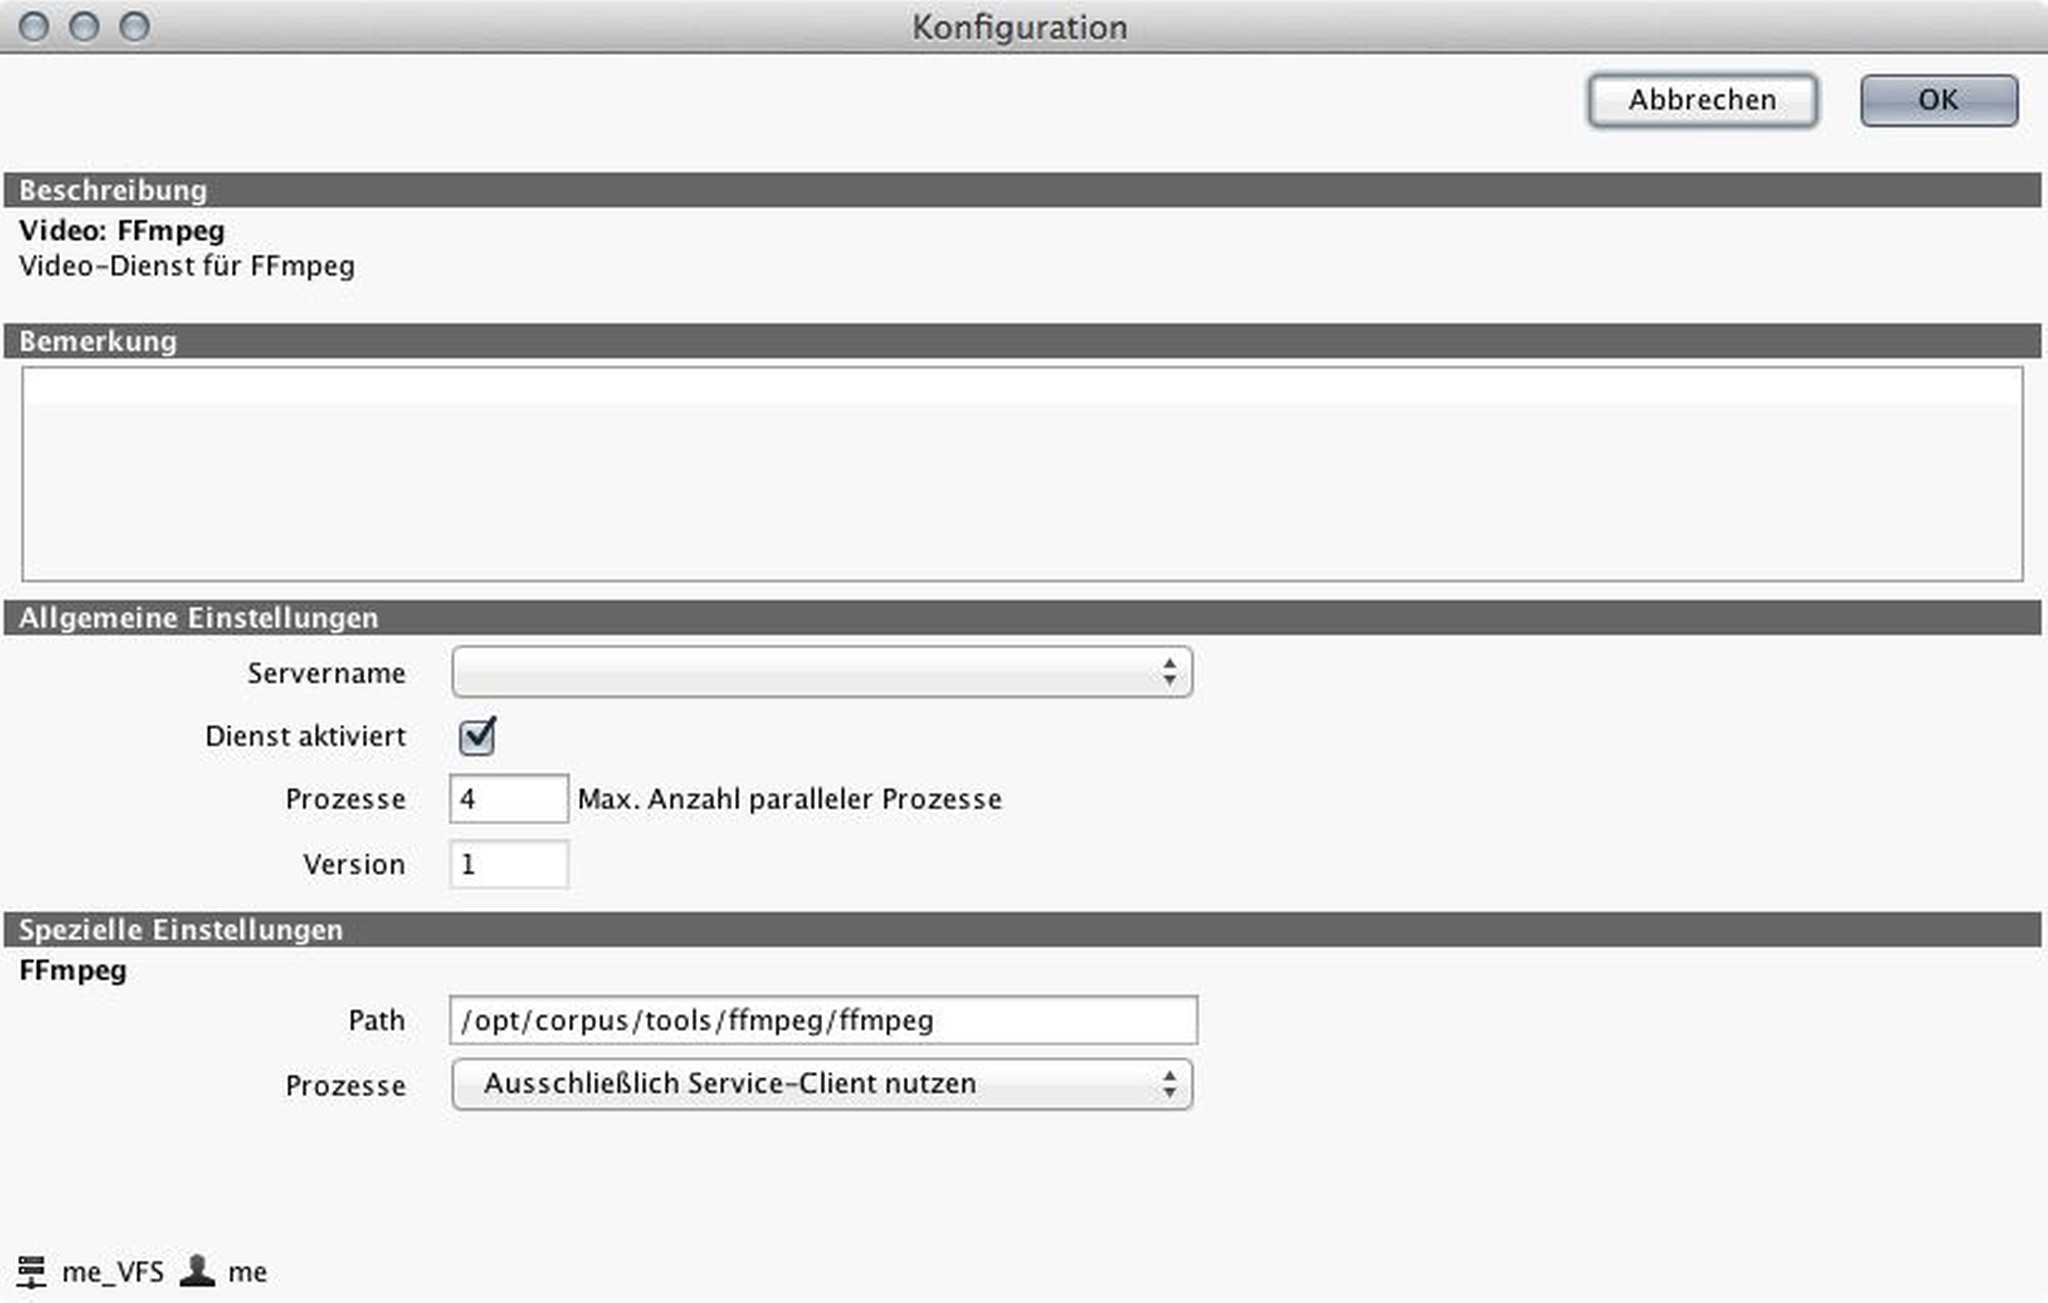
Then open the censhare Admin-Client and activate the service "Video: FFmpeg". Here you can also specify whether the transcoding should be done on the server locally or via a separate service client.

In the next step, you need to set up the modules for Video: enable and configure FFmpeg for video conversion [modules/video/aa-video-preview-action.xml].
For the module [file:modules/video/aa-video-preview.xml] (Video conversion (automatic), you can choose the trigger events. You can also specify at the end of the dialogue under "Special Settings", at which timestamp (seconds) a frame for the thumbnail is generated. By default, "Preset FFmpeg JPEG" needs to be selected in the pull-down.
If you wish, additional videos will be encoded as a storage item. Here you can select from the presets previously imported. As file type, select a video preview in the desired output size.
If you want to adjust the number of threads used by FFmpeg at the same time, it is possible to edit the preset XML and if you want to insert a value at the appropriate location:
<parameter key = "-threads" value = "16" />With an indeterminately large number of parameters, video specialists have a lot of options here and can finetune or create their own decoder preferences based on existing presets.
