Define regions for local editions (censhare Client)
Combine several local editions in one flatplan and switch by region.
Introduction
The introduction of regions in page planning supports any number of regional issues to manage in one flatplan. Via a drop-down menu you can switch easily between views. It is quite common for larger print objects that different advertisements or stories are published based on regions.
Example
An Advertising Account Manager knows that the regional edition of the North should not contain the same ad as the southern regions on page 71-72. The operator selects these two pages and assigns them to the desired regions via the context menu with the command "Create regional split page". You can now see an ochre-coloured bar above the pages, indicating a regional spread. If there is a digit displayed in this bar, then this indicates, how many regions are still available for placements. If the defined regions are already all occupied, no number is shown in the bar above the page element. In addition, a regions menu appears on the right above the asset planning. Here you can toggle views between regions.

Configuration
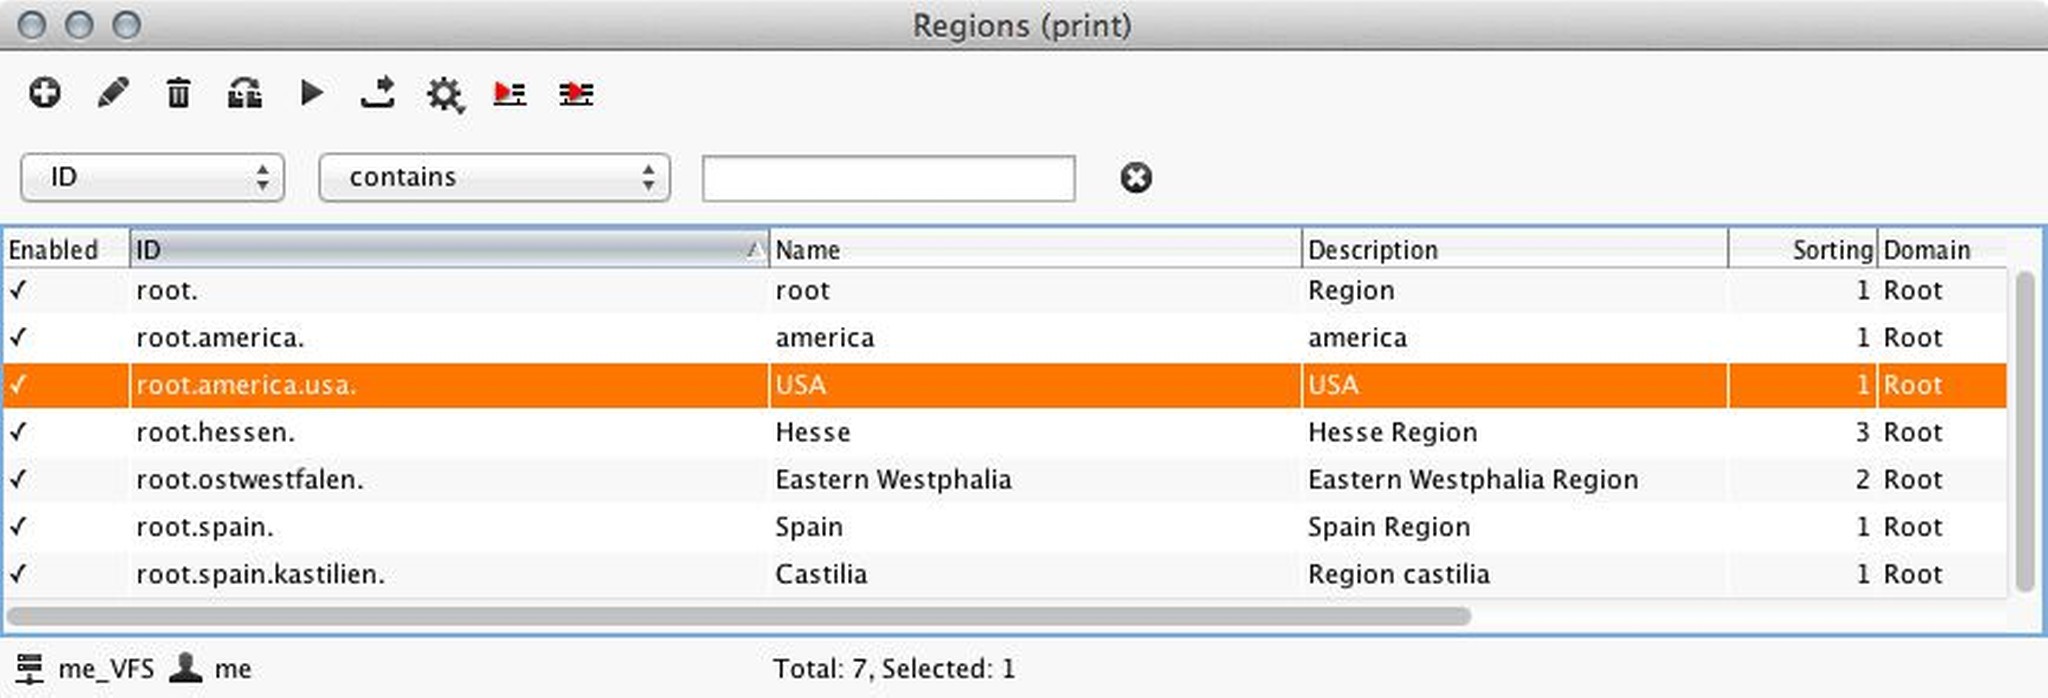
The regions need to be created in the Admin-Client in the master data for "Regions (print)". For a region "Spain" it is additionally possible to create a sub-region such as "Castile". This makes it possible to add regions in the asset planning: when using the selection mode main element mode, right-click on a single page without placement or multi-select a page spread. In the settings panel of the Planning tool, you should first activate the display of regions. The bar shows a figure for the number of regions that exist for that specific page below. When printing the flatplan, only one region can be printed at once.
You have to start the regional planning with empty pages and then assign a region before placing assets. If a layout has already been placed in the planning, the regions can not be altered afterwards.
- Depending on your selection and on the neighbouring regions, the context-menu only shows those commands that are actually possible for editing the regions. Select a page and add it to the adjacent region to the right (Append to right split page).
- Blank pages between regional pages can merge into the region (Merge adjacent regional split pages).
- Mark one blank page on the right in between pages. The context-menu accordingly offers to add this page to the regional split on the right (Append to right split page).
- Use "Edit regional split page(s)" to modify or delete existing regions
- The Regions menu appears in the top right of the Planning and lets you switch between regional views.
In the asset list below the planning, you can see immediately which region the asset is associated with:

Contextual commands (right-click in Planning)
These commands are available in the main element selection mode:
Create regional split page
Edit regional split page
Append pages to left split
Append to right split
Merge adjacent regional splits
Further configuration
After installing censhare, first delete the old version of the transformation resource "XSLT: Print preview catalog".
Then replace it with the new version from the install folder of your server:
censhare-Server/install/assets/required/transformation/XSLT-print-preview-catalog.censhare-assetsImport "XSLT-print-preview-catalog.censhare-assets" via server action.
From censhare 4.8.5 on the appropriate server asset export module (
asset_export_import.export-sheets) "Export Sheets" can also export regional sheets.

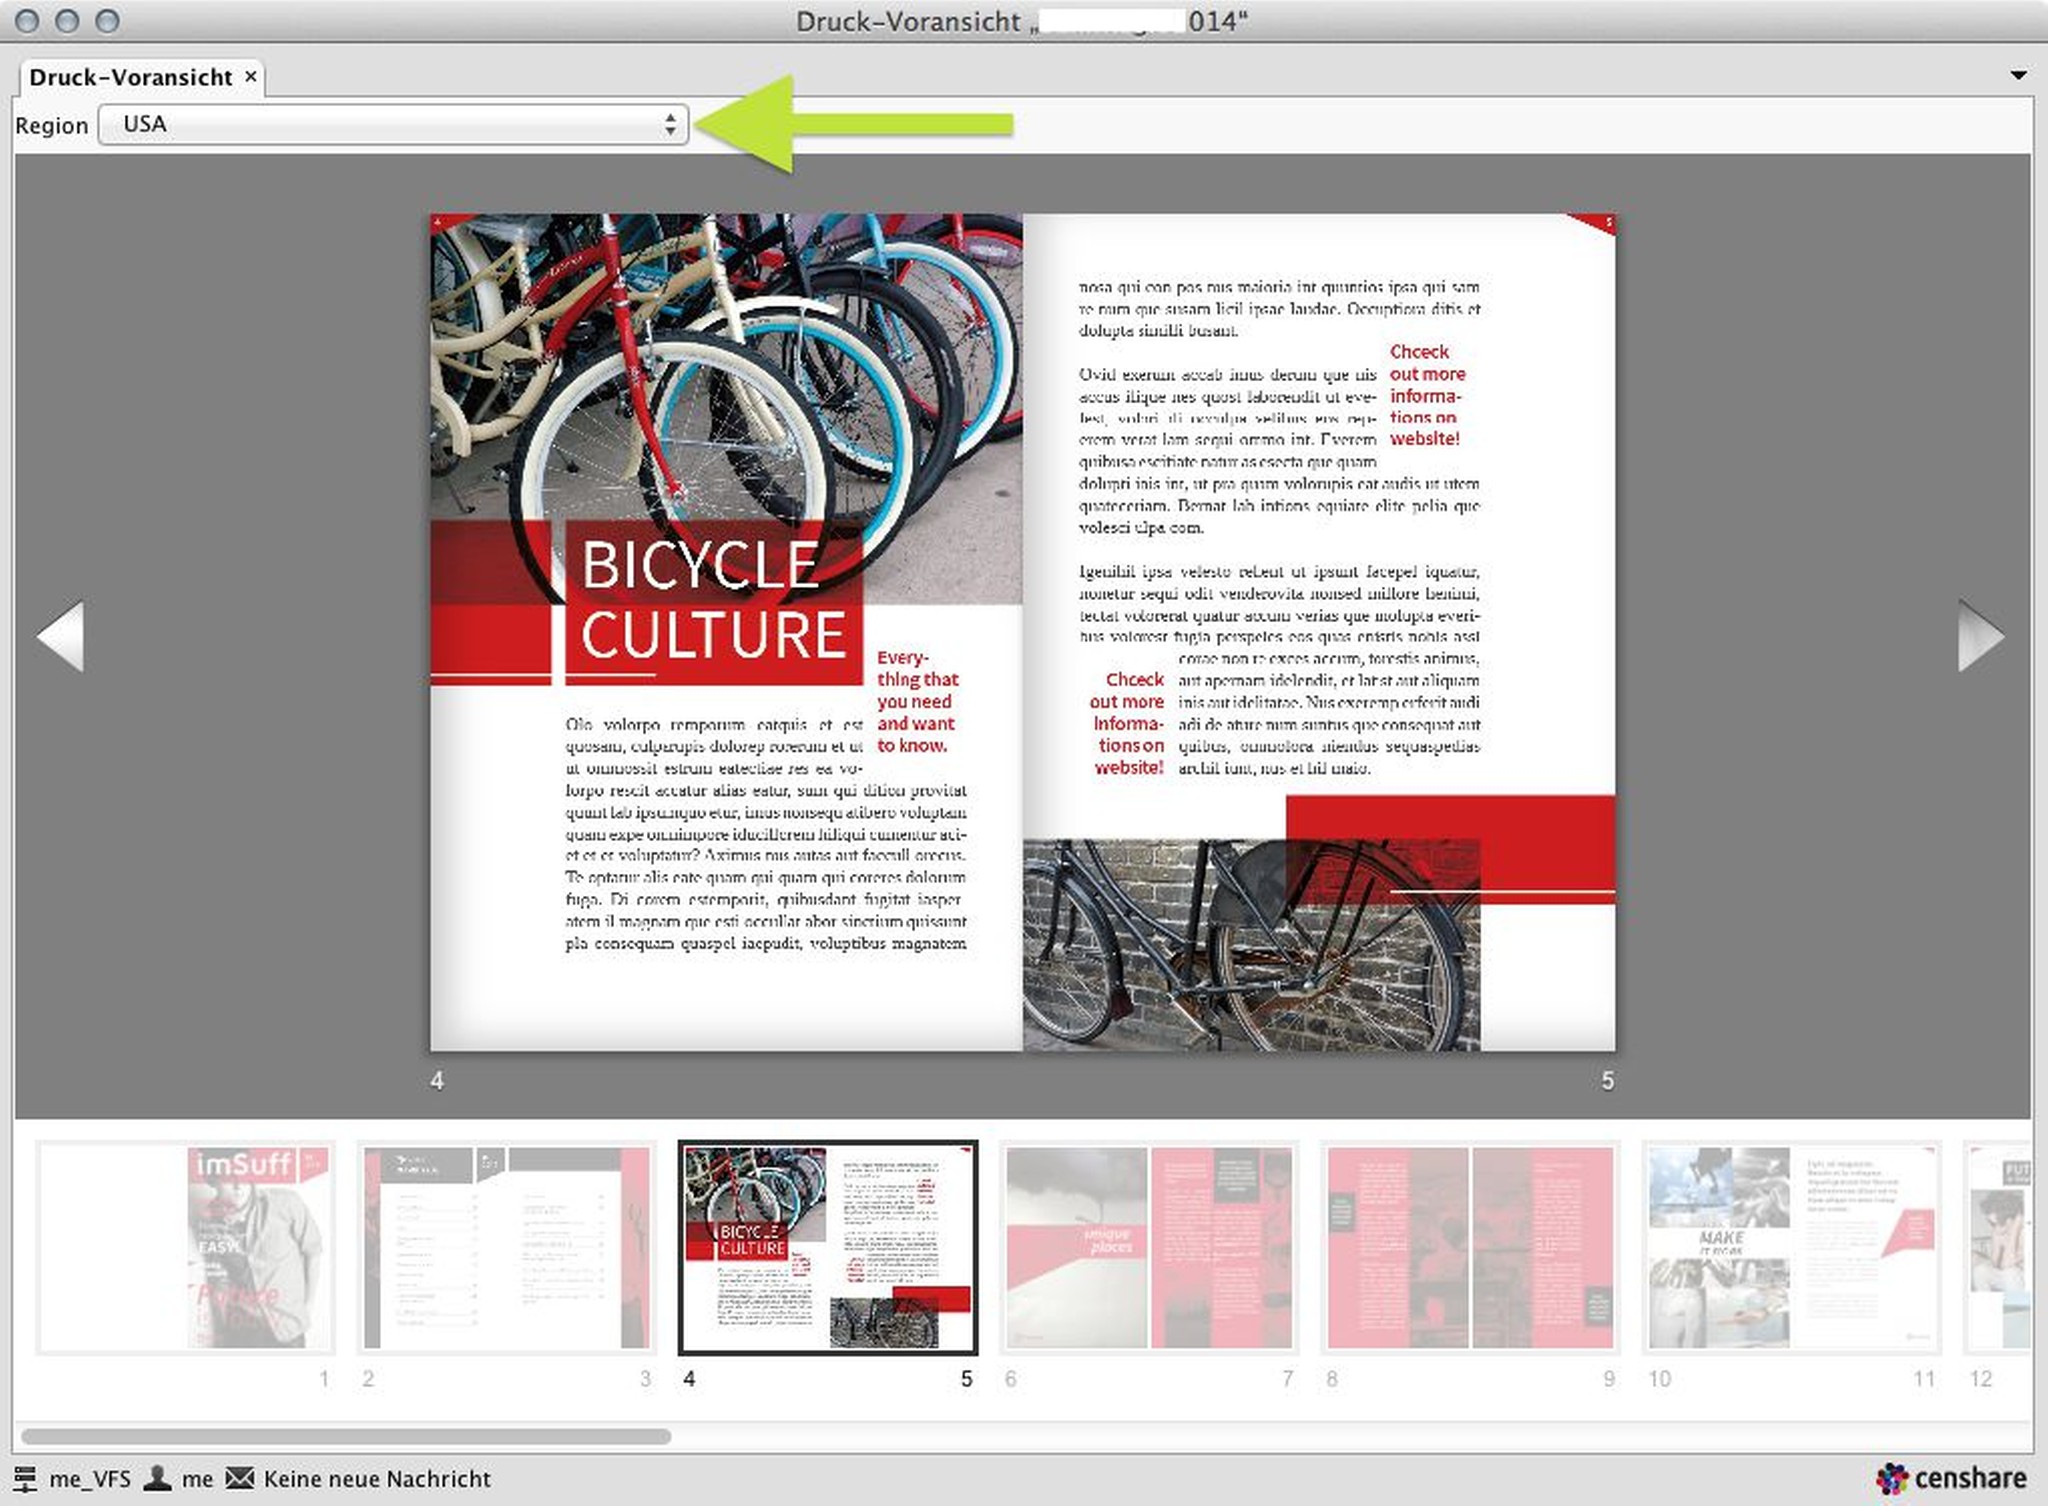
Regional planning in the print preview with drop-down menu to switch between the regions.
