Tutorial - Create an XML workspace template
XML workspace templates store a complete workspace in a single XML file. For administrators of censhare instances, this is a convenient way to create workspace templates based on the default workspace structure of censhare Web.
Purpose
Create customized workspace configurations
Transfer workspace configurations from one censhare instance to another
Context
Setup and configuration of censhare Web.
- For an introduction to XML based workspace templates read the article "Workspace template with XML files". All instructions in this article are taken from there.
Prerequisites
You should be familiar with the workspace structure of censhare Web.
You should have experience with XML in general and the XML structure used in censhare.
You should be familiar with roles and permissions in censhare.
Introduction
The following example creates a workspace template and assigns it to the role "Editor". It is further assumed that there is a user called "John Doe" with the default role "Editor".
Note:
The possibilities to use censhare Web for a specific user is put together in the following way:
The visibility within a Workspace is determined through the Default role of the user
Admin-Client/Master data/Users/[username]/Default role
The rights in censhare Web are determined through the Default role and possibly extended through additionally defined Roles
Admin-Client/Master data/Users/[username]/Roles/Role
Step 1 – Create test user
Before you start to create the template, we strongly recommend to create a user with the default role of the template for test purposes. This test user can have a generic name, for example:
Display name | Editor User |
Default role | Editor |
Step 2 – Create role and user for custom workspace
Now, create an additional role and user that will be used to create the workspace template:
New role | |
ID | workspace_creation |
Name | Workspace Creation |
Permissions | Systemadministrator |
New user | |
Display name | Workspace Creator for Editor |
Default role | Workspace Creation |
The user you have just created – "Workspace Creator for Editor" – will create the Workspace "Editor User". This workspace will be assigned to the user "John Doe", because this user has the respective role.
Step 3 – Customize workspace
Log into censhare Web as "Workspace Creator for Editor":
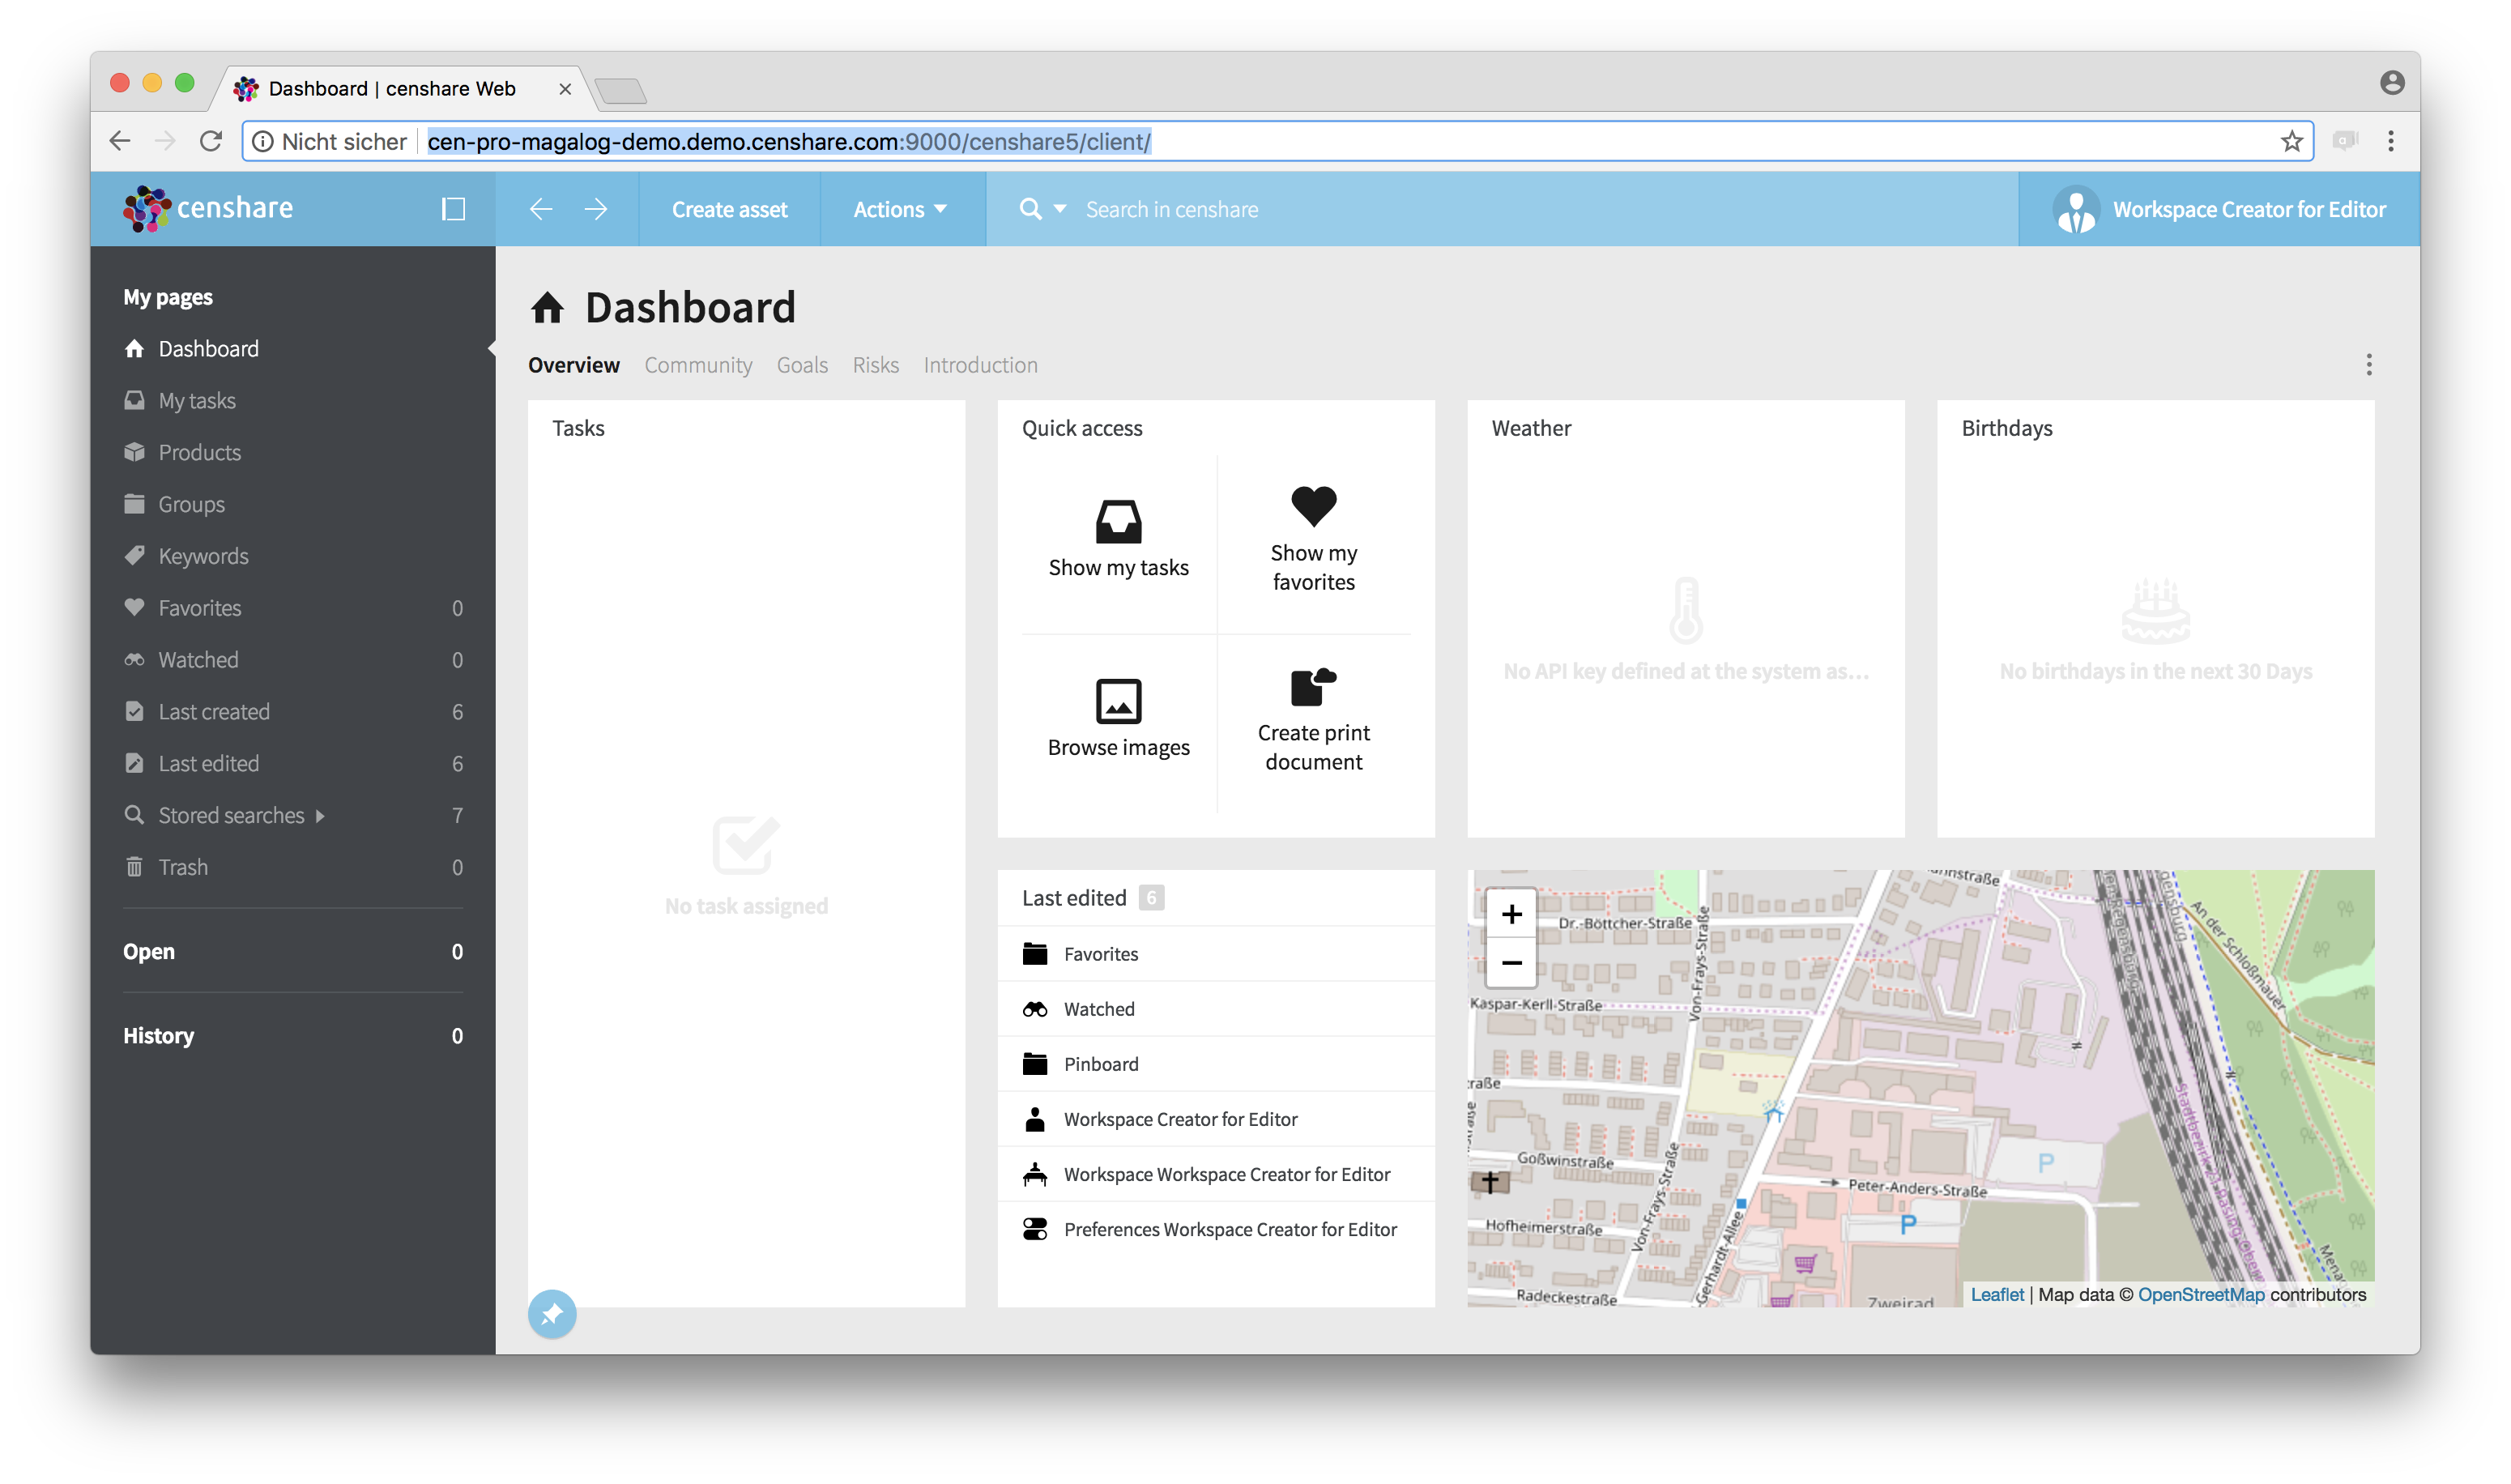
Default dashboard for user "Workspace Creator for Editor"
Customize the Dashboard. For example, remove and add tabs by clicking "Manage Tabs" in the actions menu:

Actions menu - "Manage tabs"

Manage tabs dialog
Confirm your changes by clicking OK.
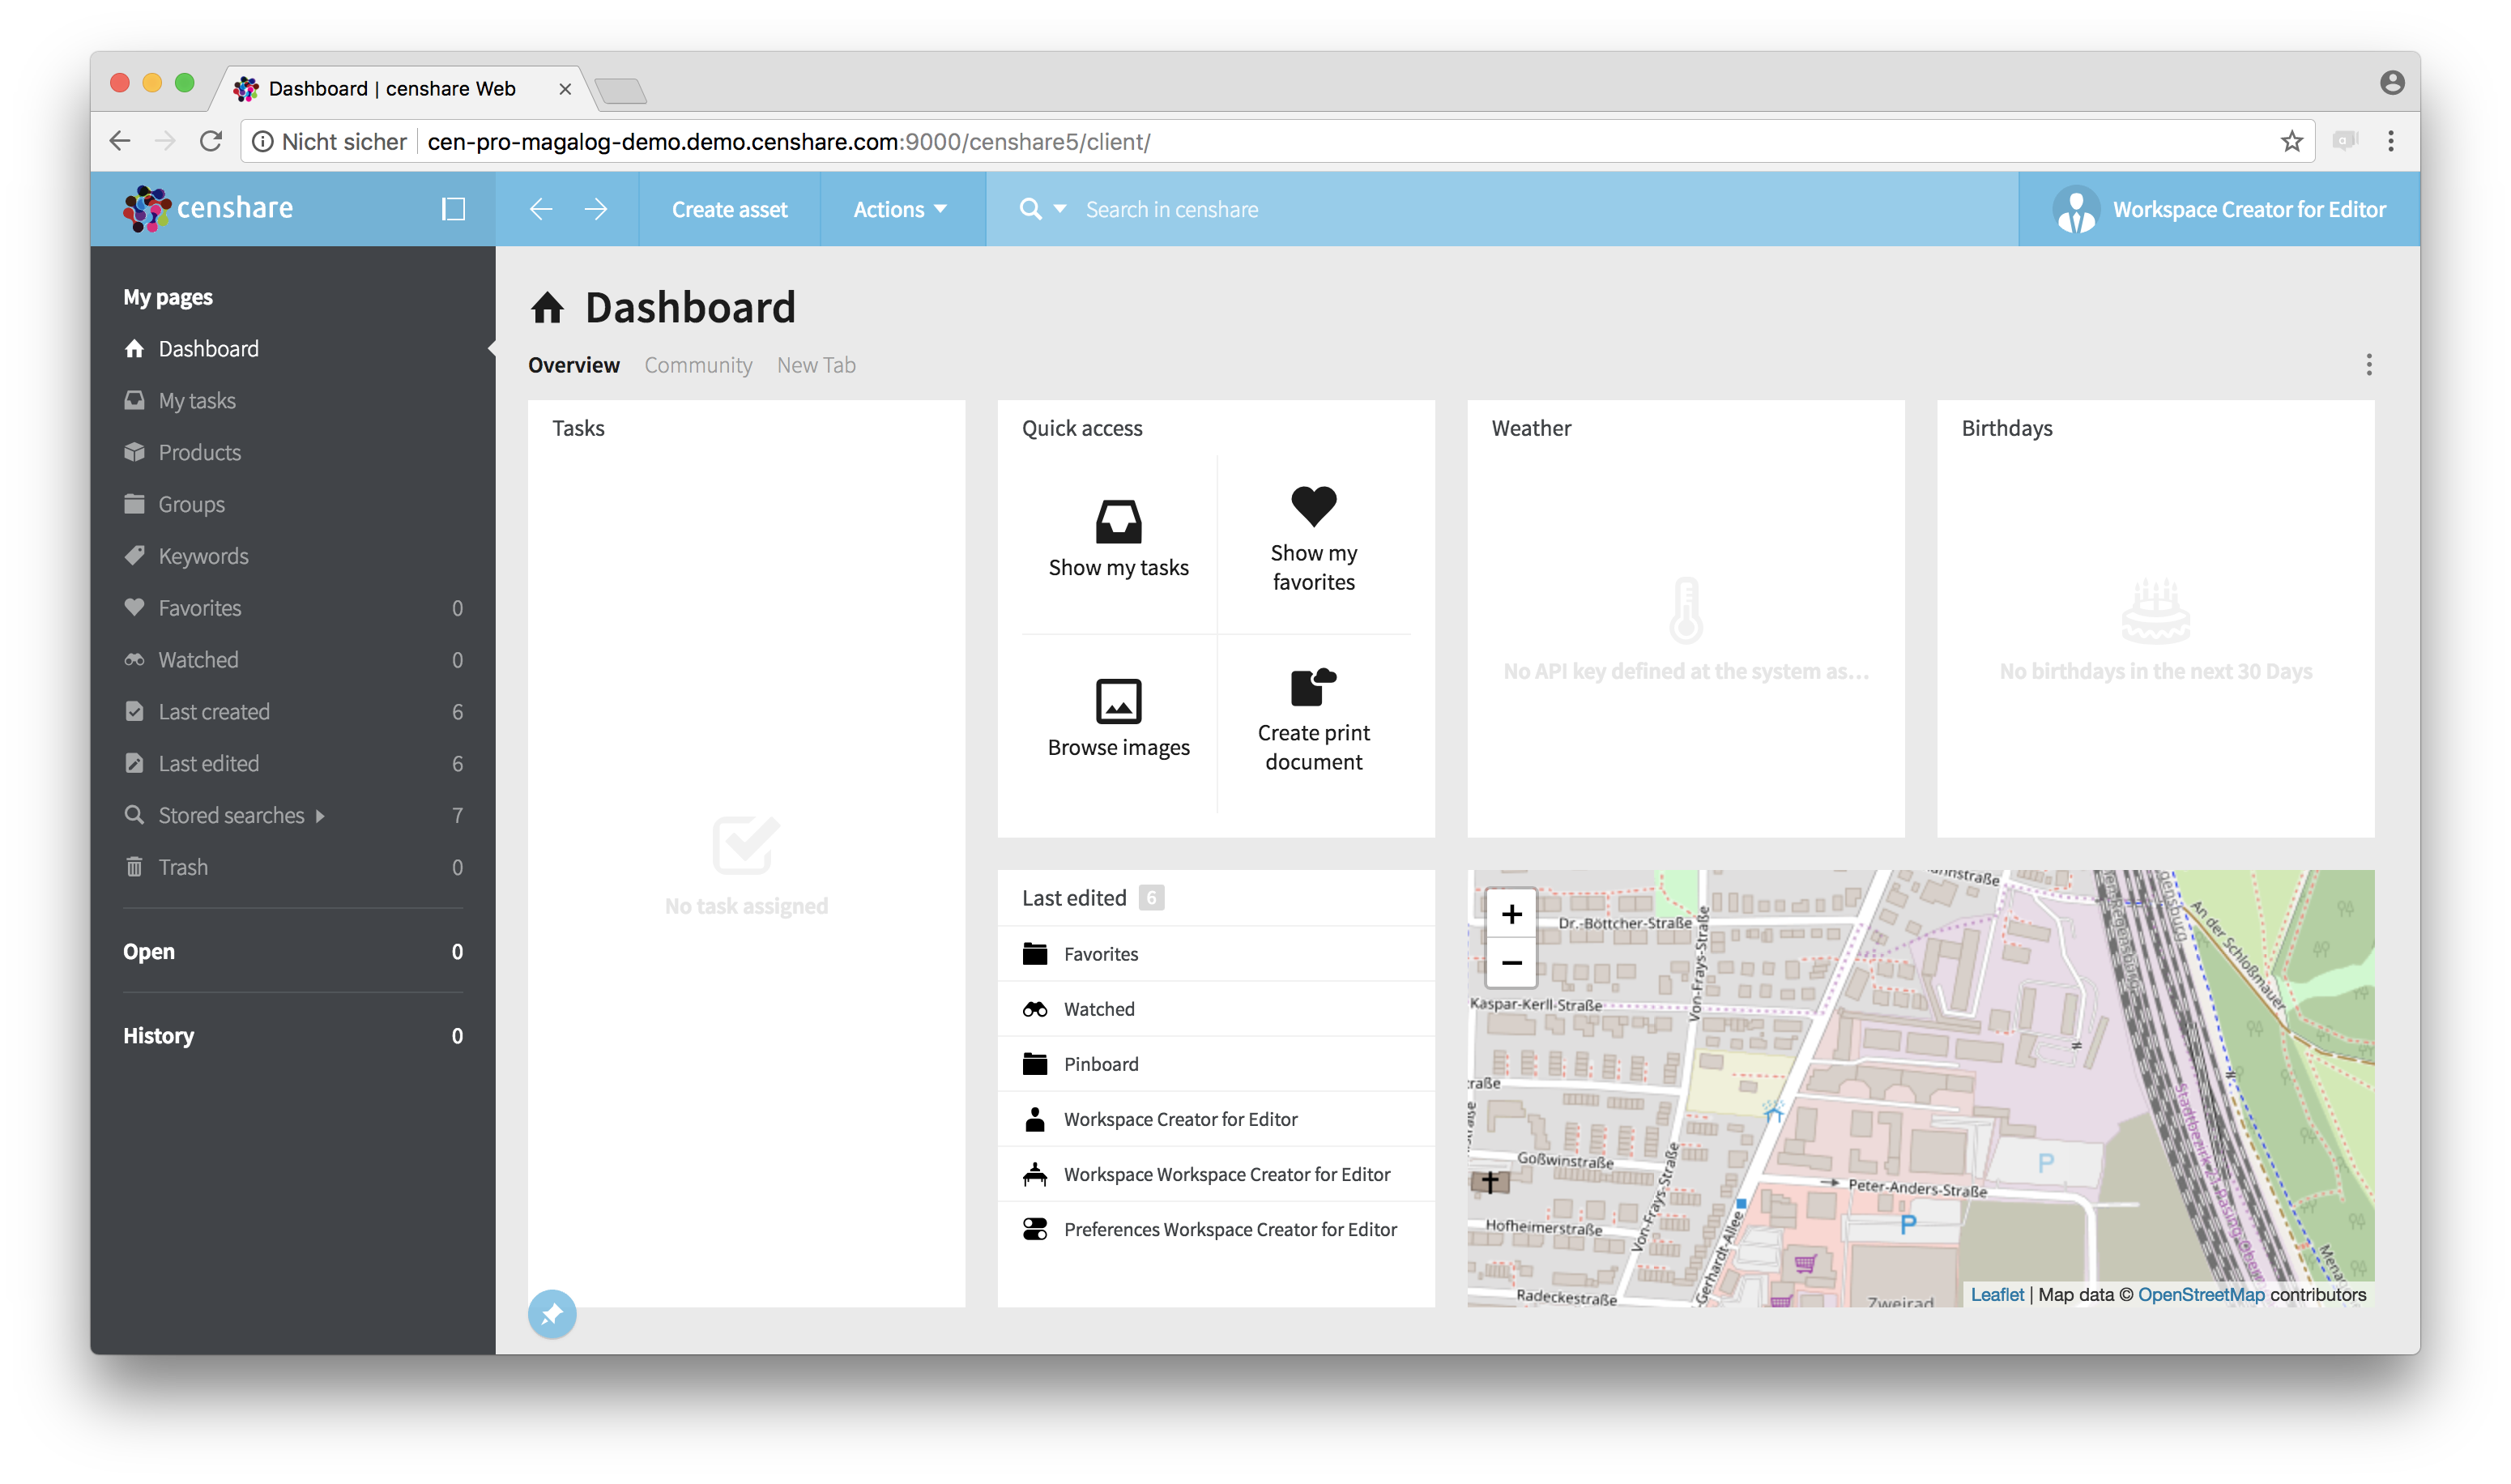
New tab
Next, remove widgets from the "Overview" tab as shown in the screenshot below:

Default widgets on "Overview" tab
Repeat this for the widgets "Weather", "Birthdays" and the map:
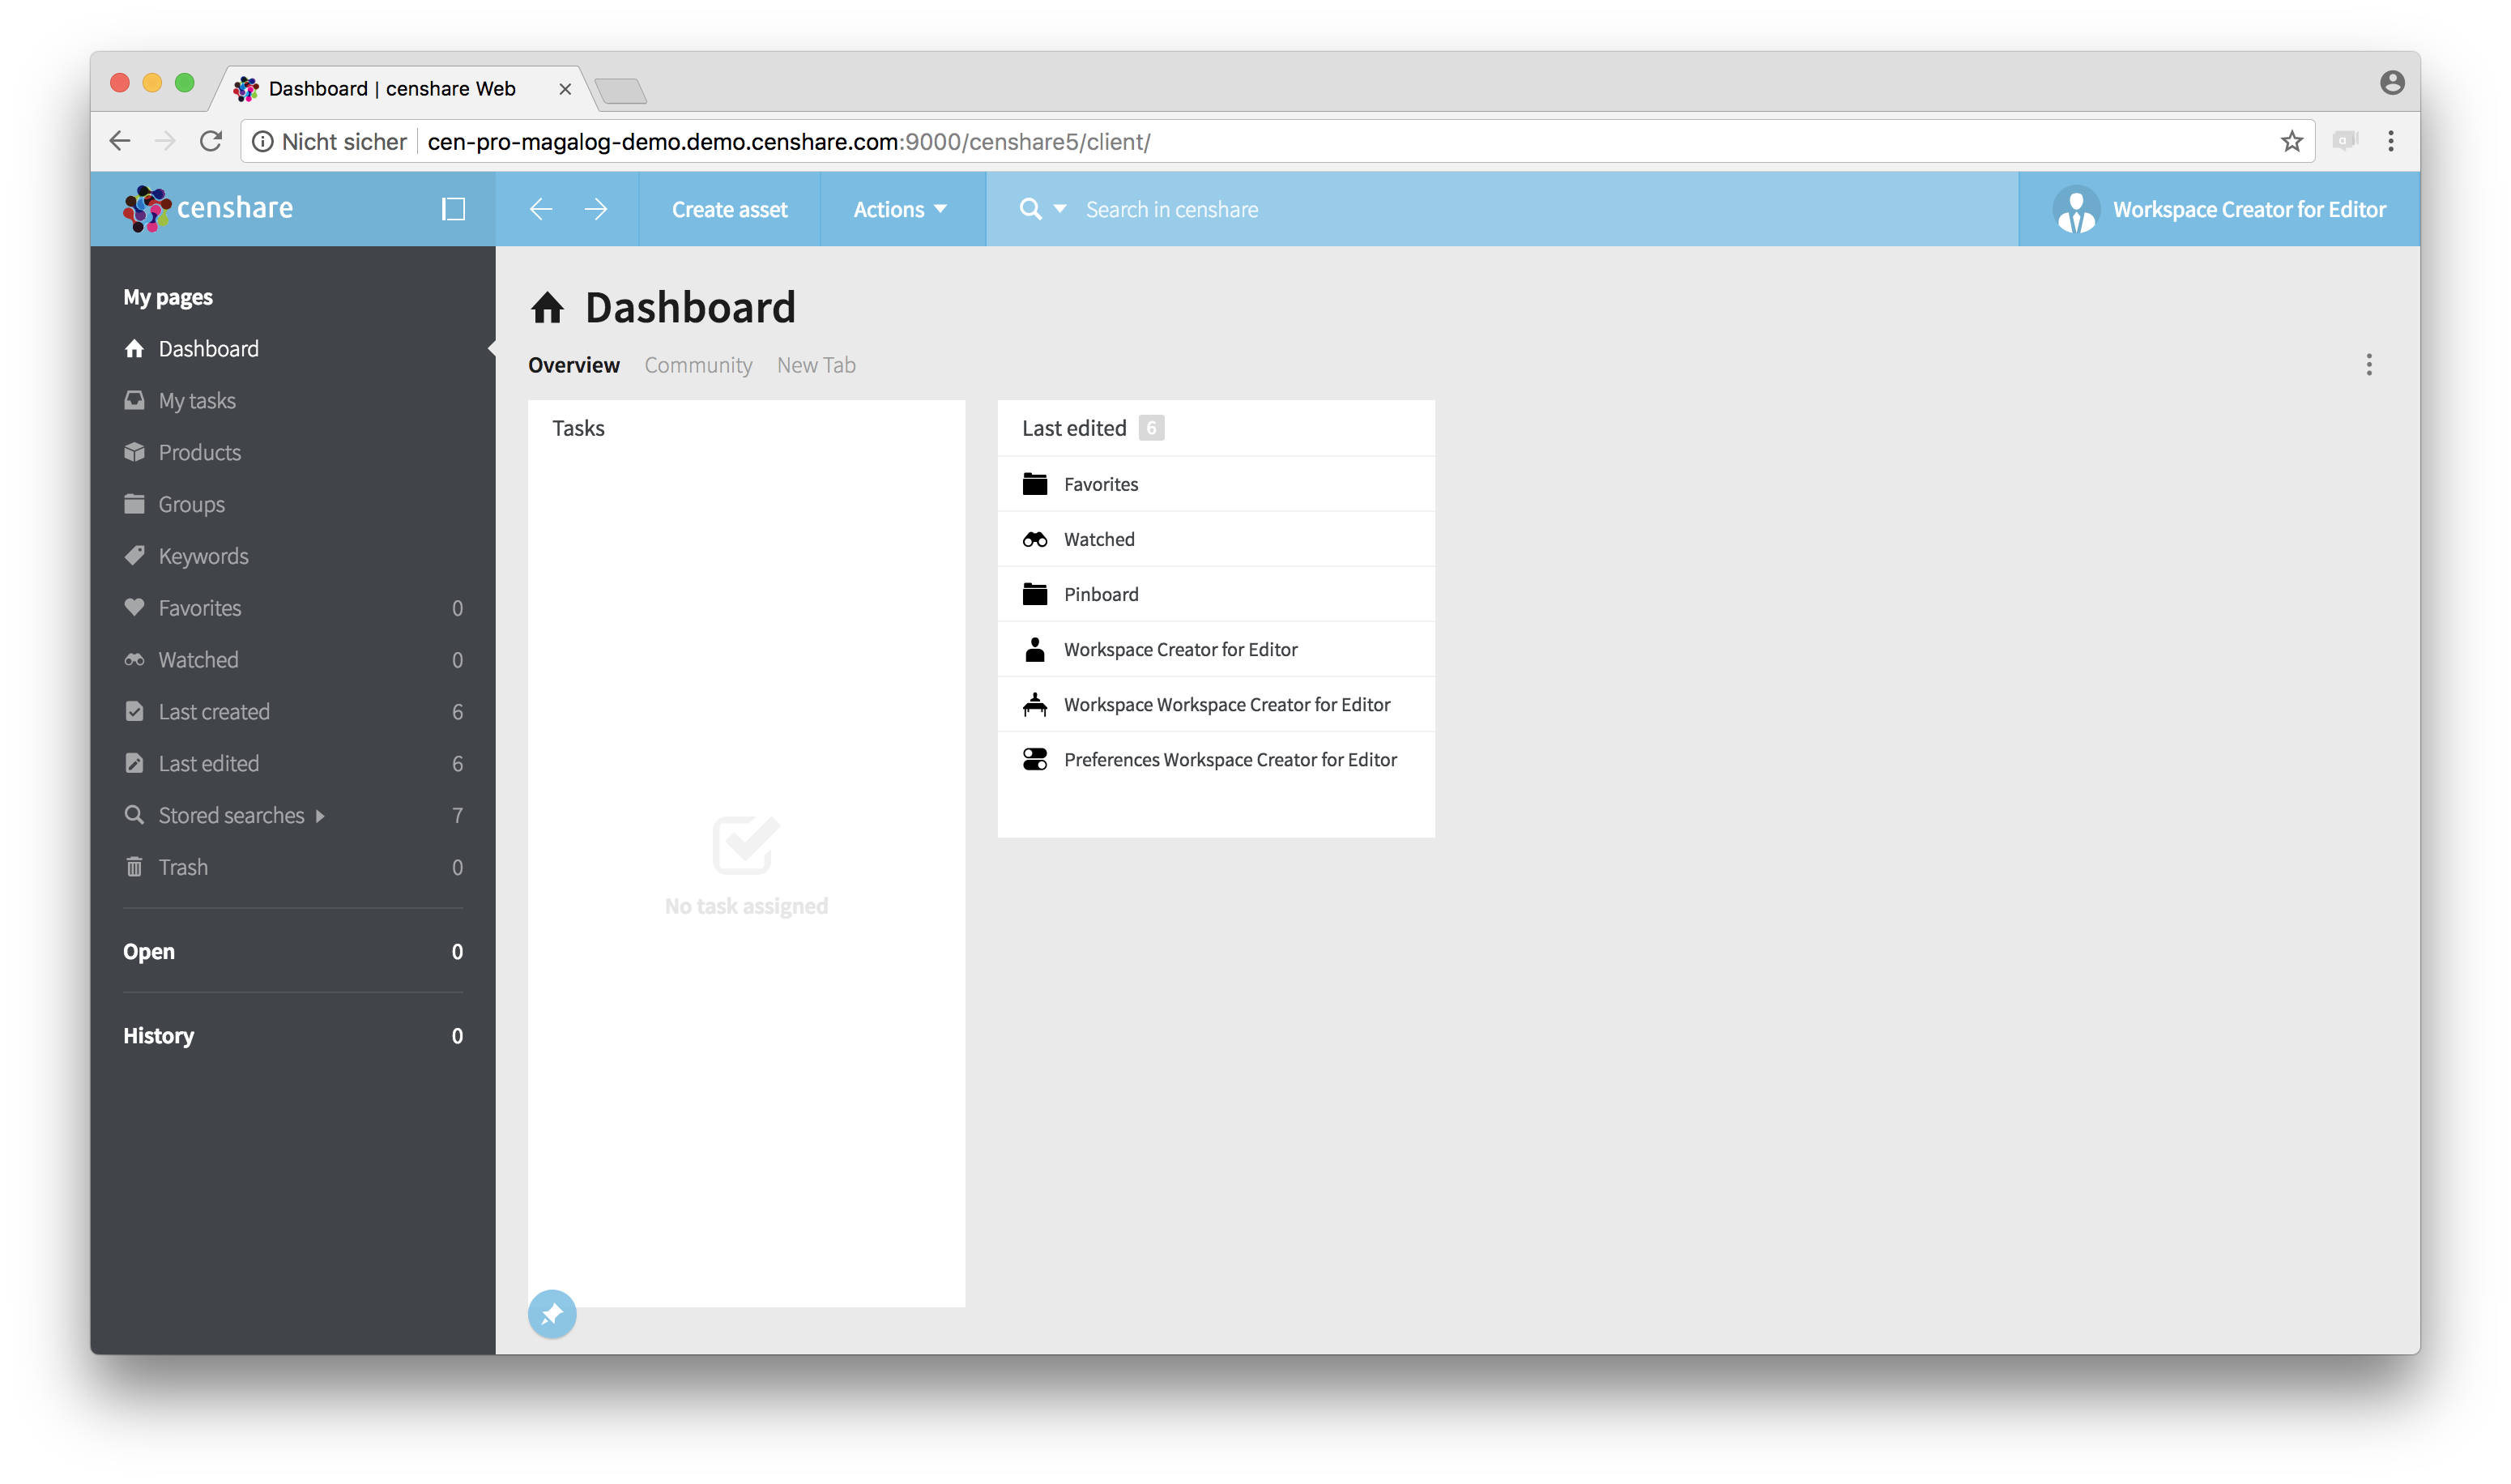
"Overview" tab after removing widgets
At last, change the size of the "Last edited" widget by clicking the lower right corner of the widget and dragging it to the desired size:

Change size of widgets
Resume: You have now created a customized dashboard for the user "Workspace creator for editor".
Step 4 – Open workspace asset
Open the user menu at the right of the top navigation and click "Show profile":

User menu - "Show profile"
The user asset of currently logged in user "Workspace creator for editor" opens in new asset page:

User asset
Switch to the "Details" tab and look for the "Assignments" widget. Here, you will find the workspace assigned to this user:
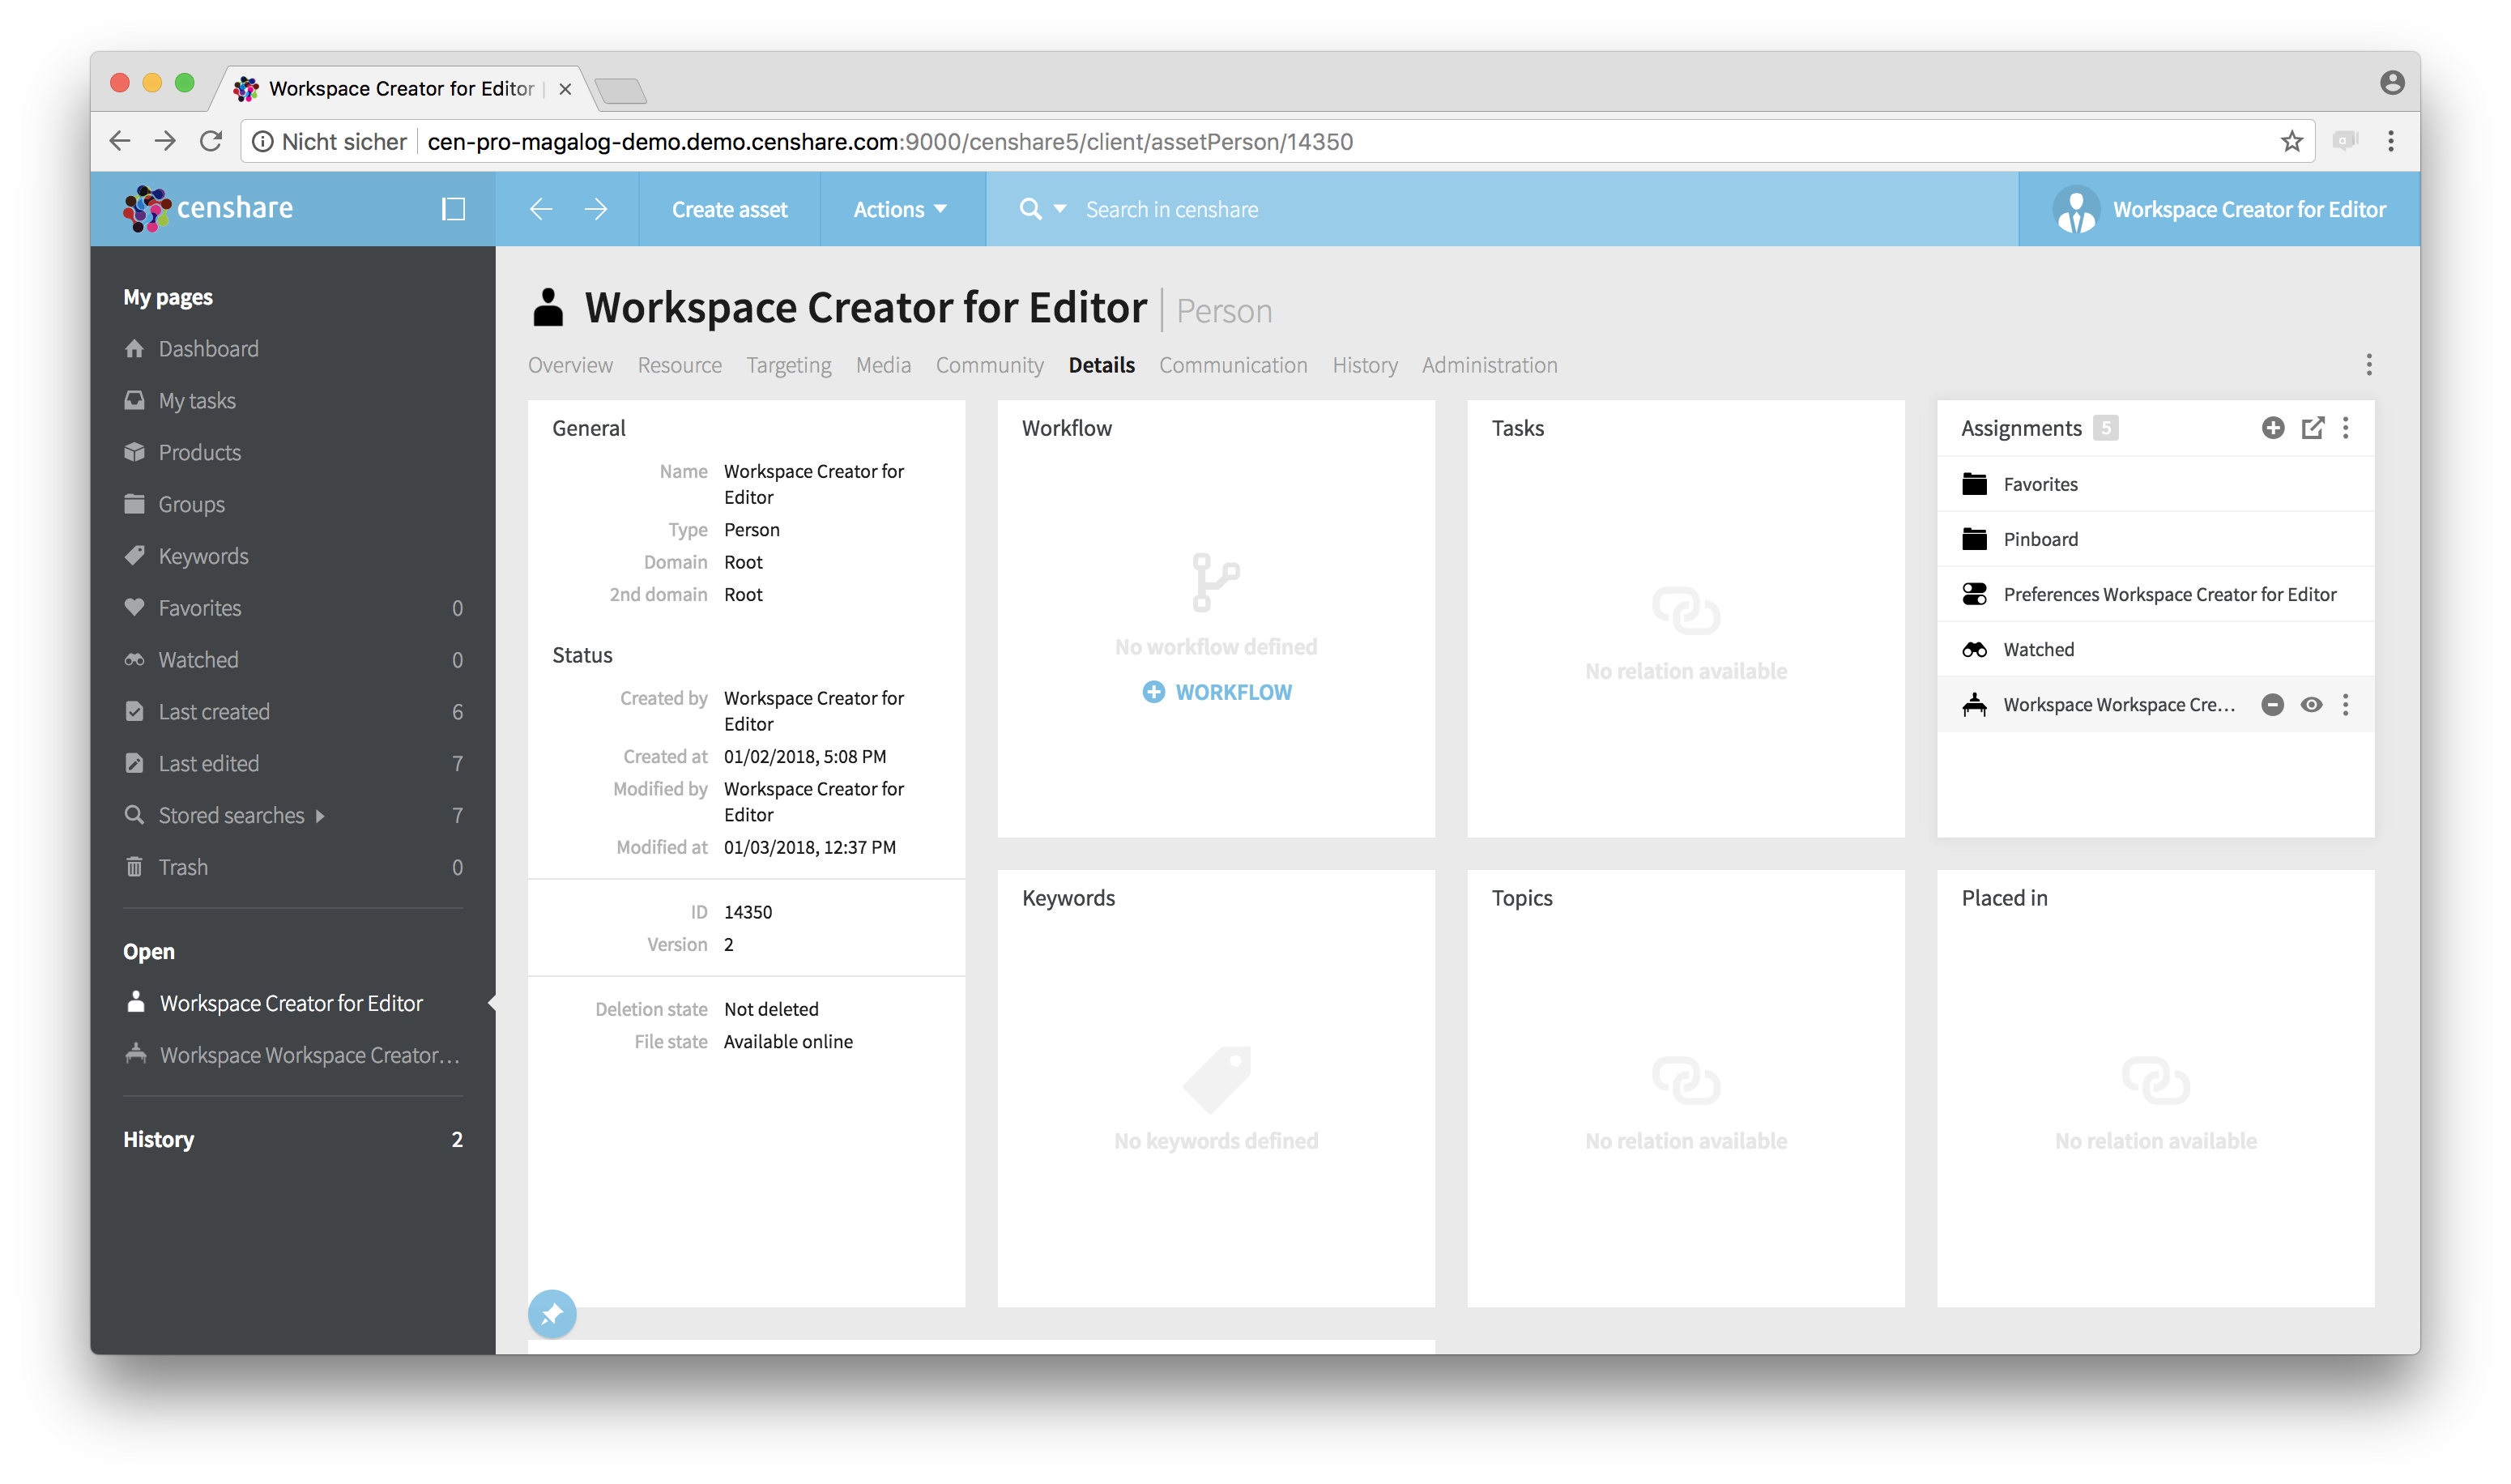
User asset - "Details" tab
Open the workspace in a new page by double clicking on the icon. The workspace asset opens in a new page:
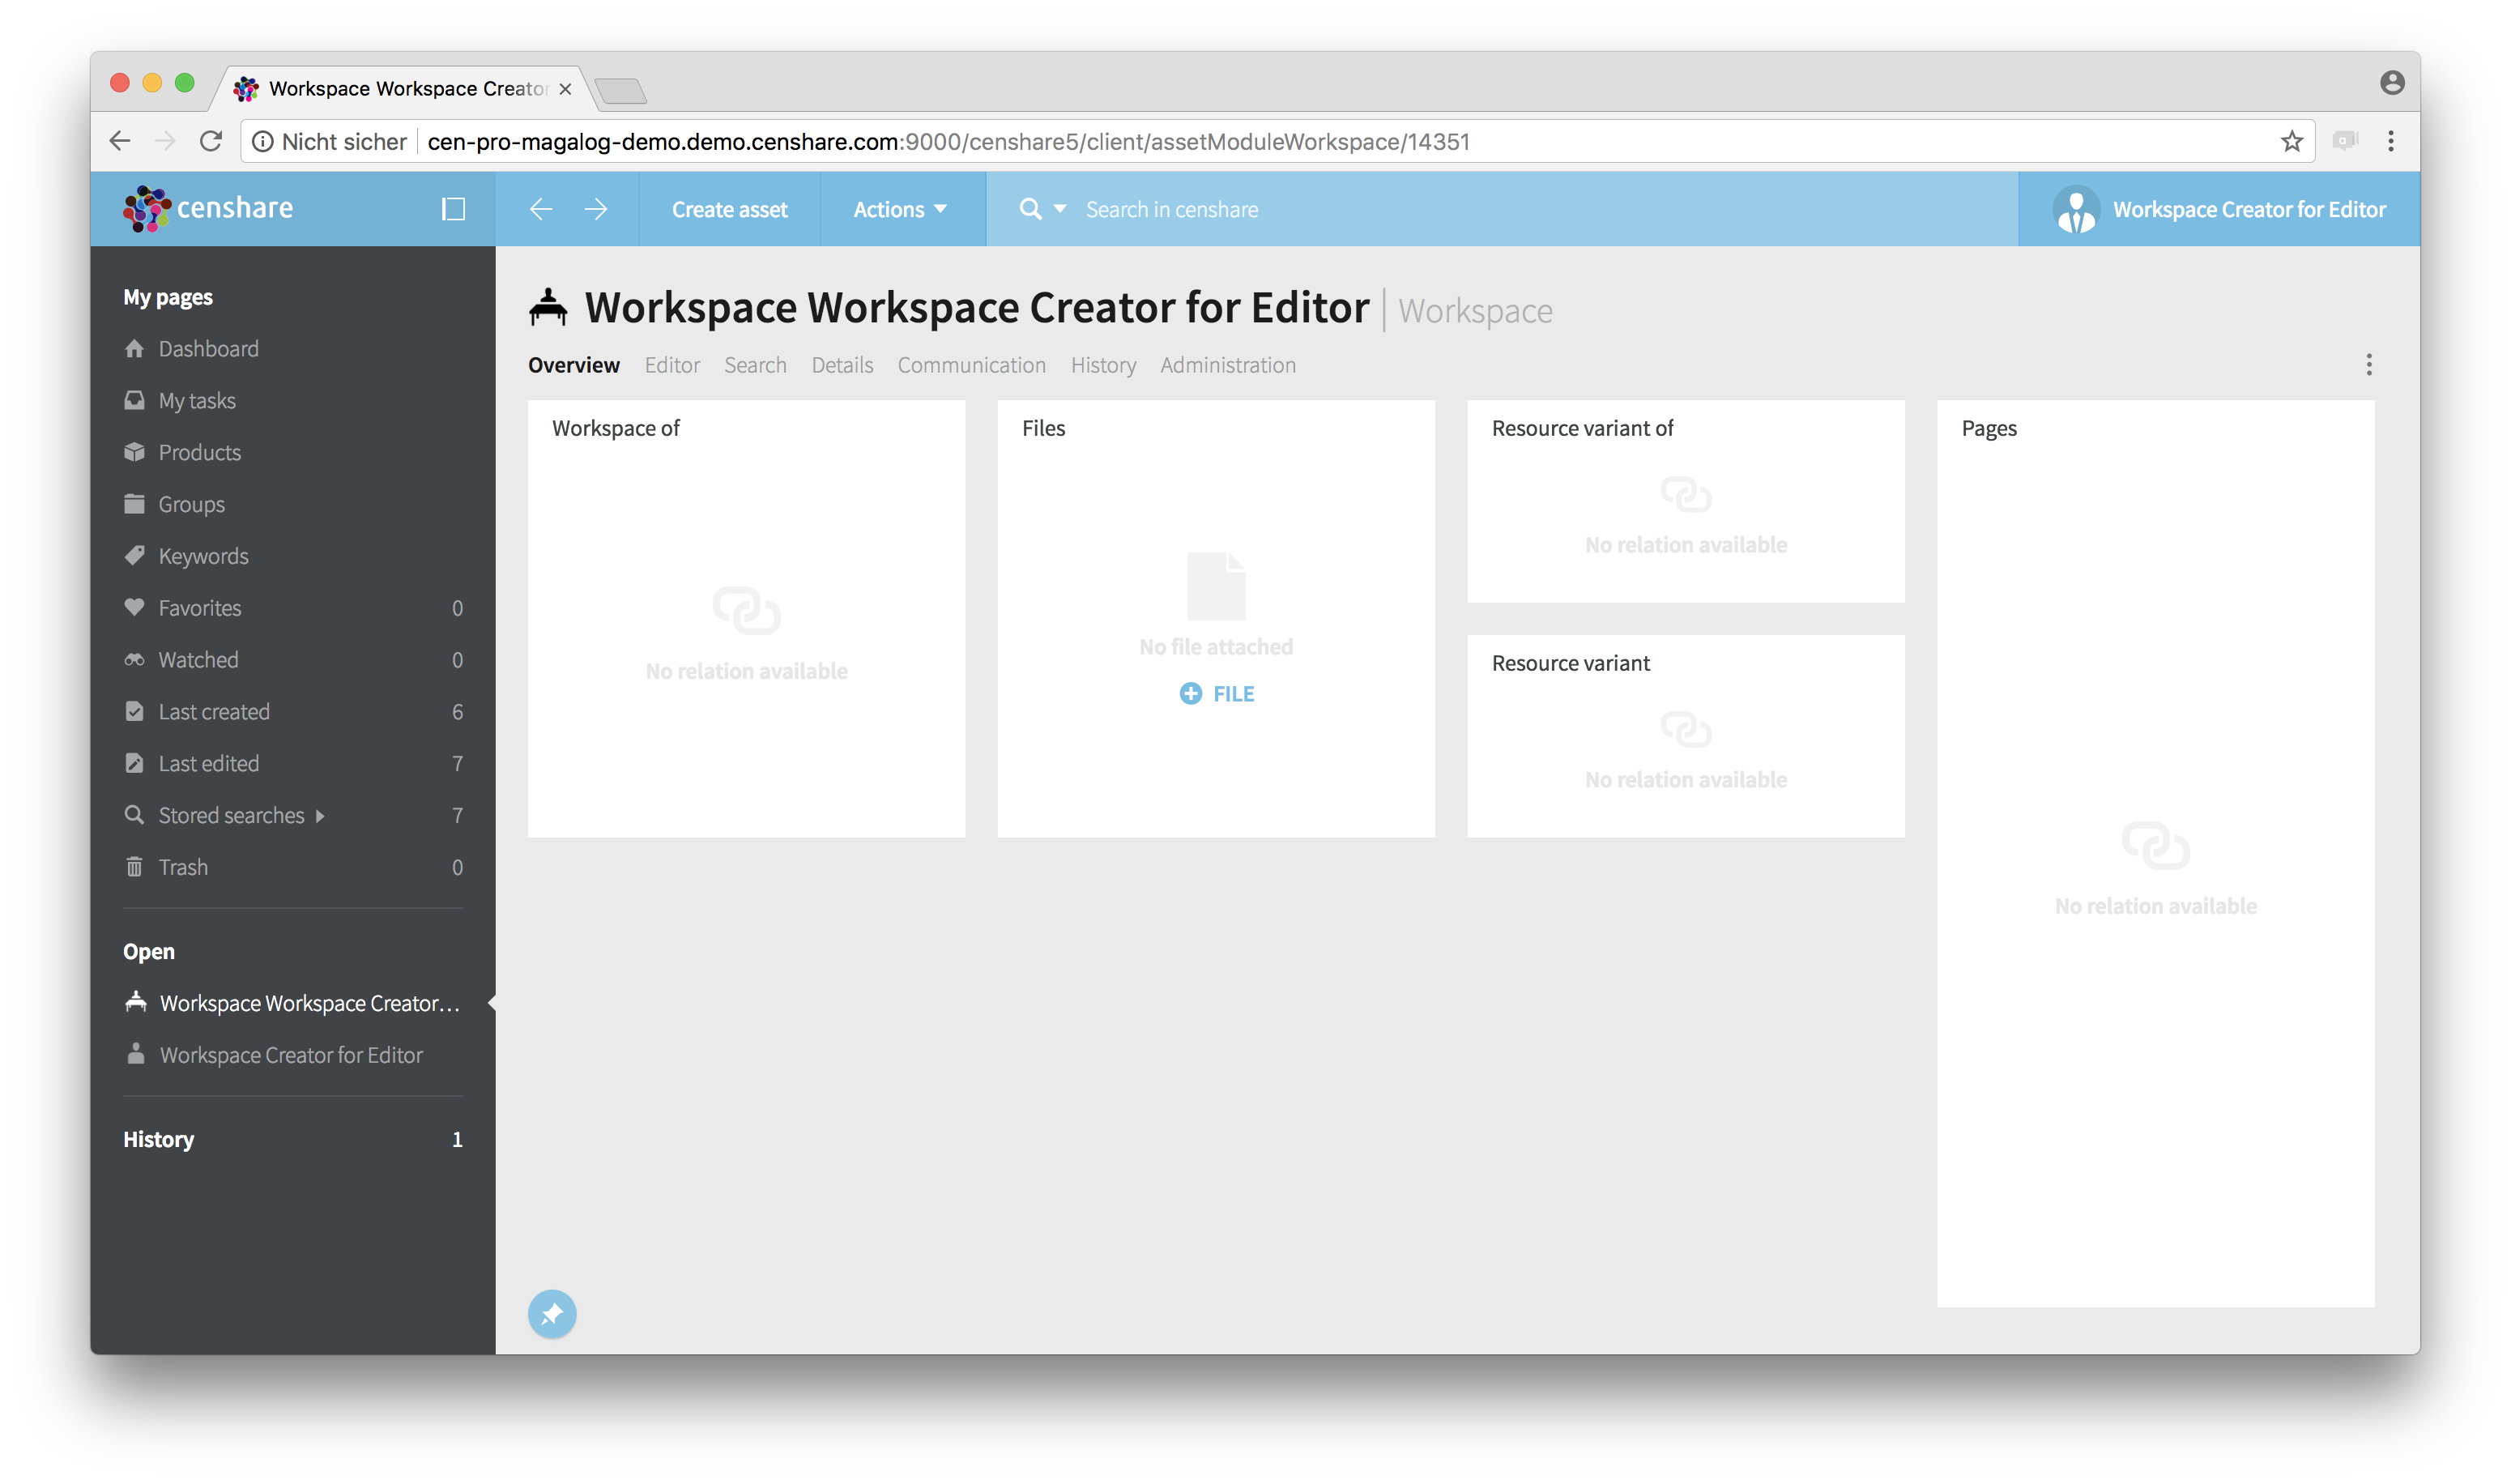
Workspace asset
Resume: You have opened the customized workspace asset of the user "Workspace creator for editor" in order to create the XML template from this workspace.
Step 5 – Create template
On the workspace asset page, open the actions menu and execute the action "Create Workspace XML Template":

Action menu - "Create Workspace XML Template"
423pxNote:
In some censhare versions a dialog "Select workspace template" is shown. This dialog may be empty. If the dialog appears, click OK to confirm.
Resume: You have now created an XML file with the custom workspace configuration.
Step 6 – Add name and resource key
When creating a new XML workspace template, the message "Workspace template created" is shown. Click on "Open new template asset" below in the message dialog:

Success message
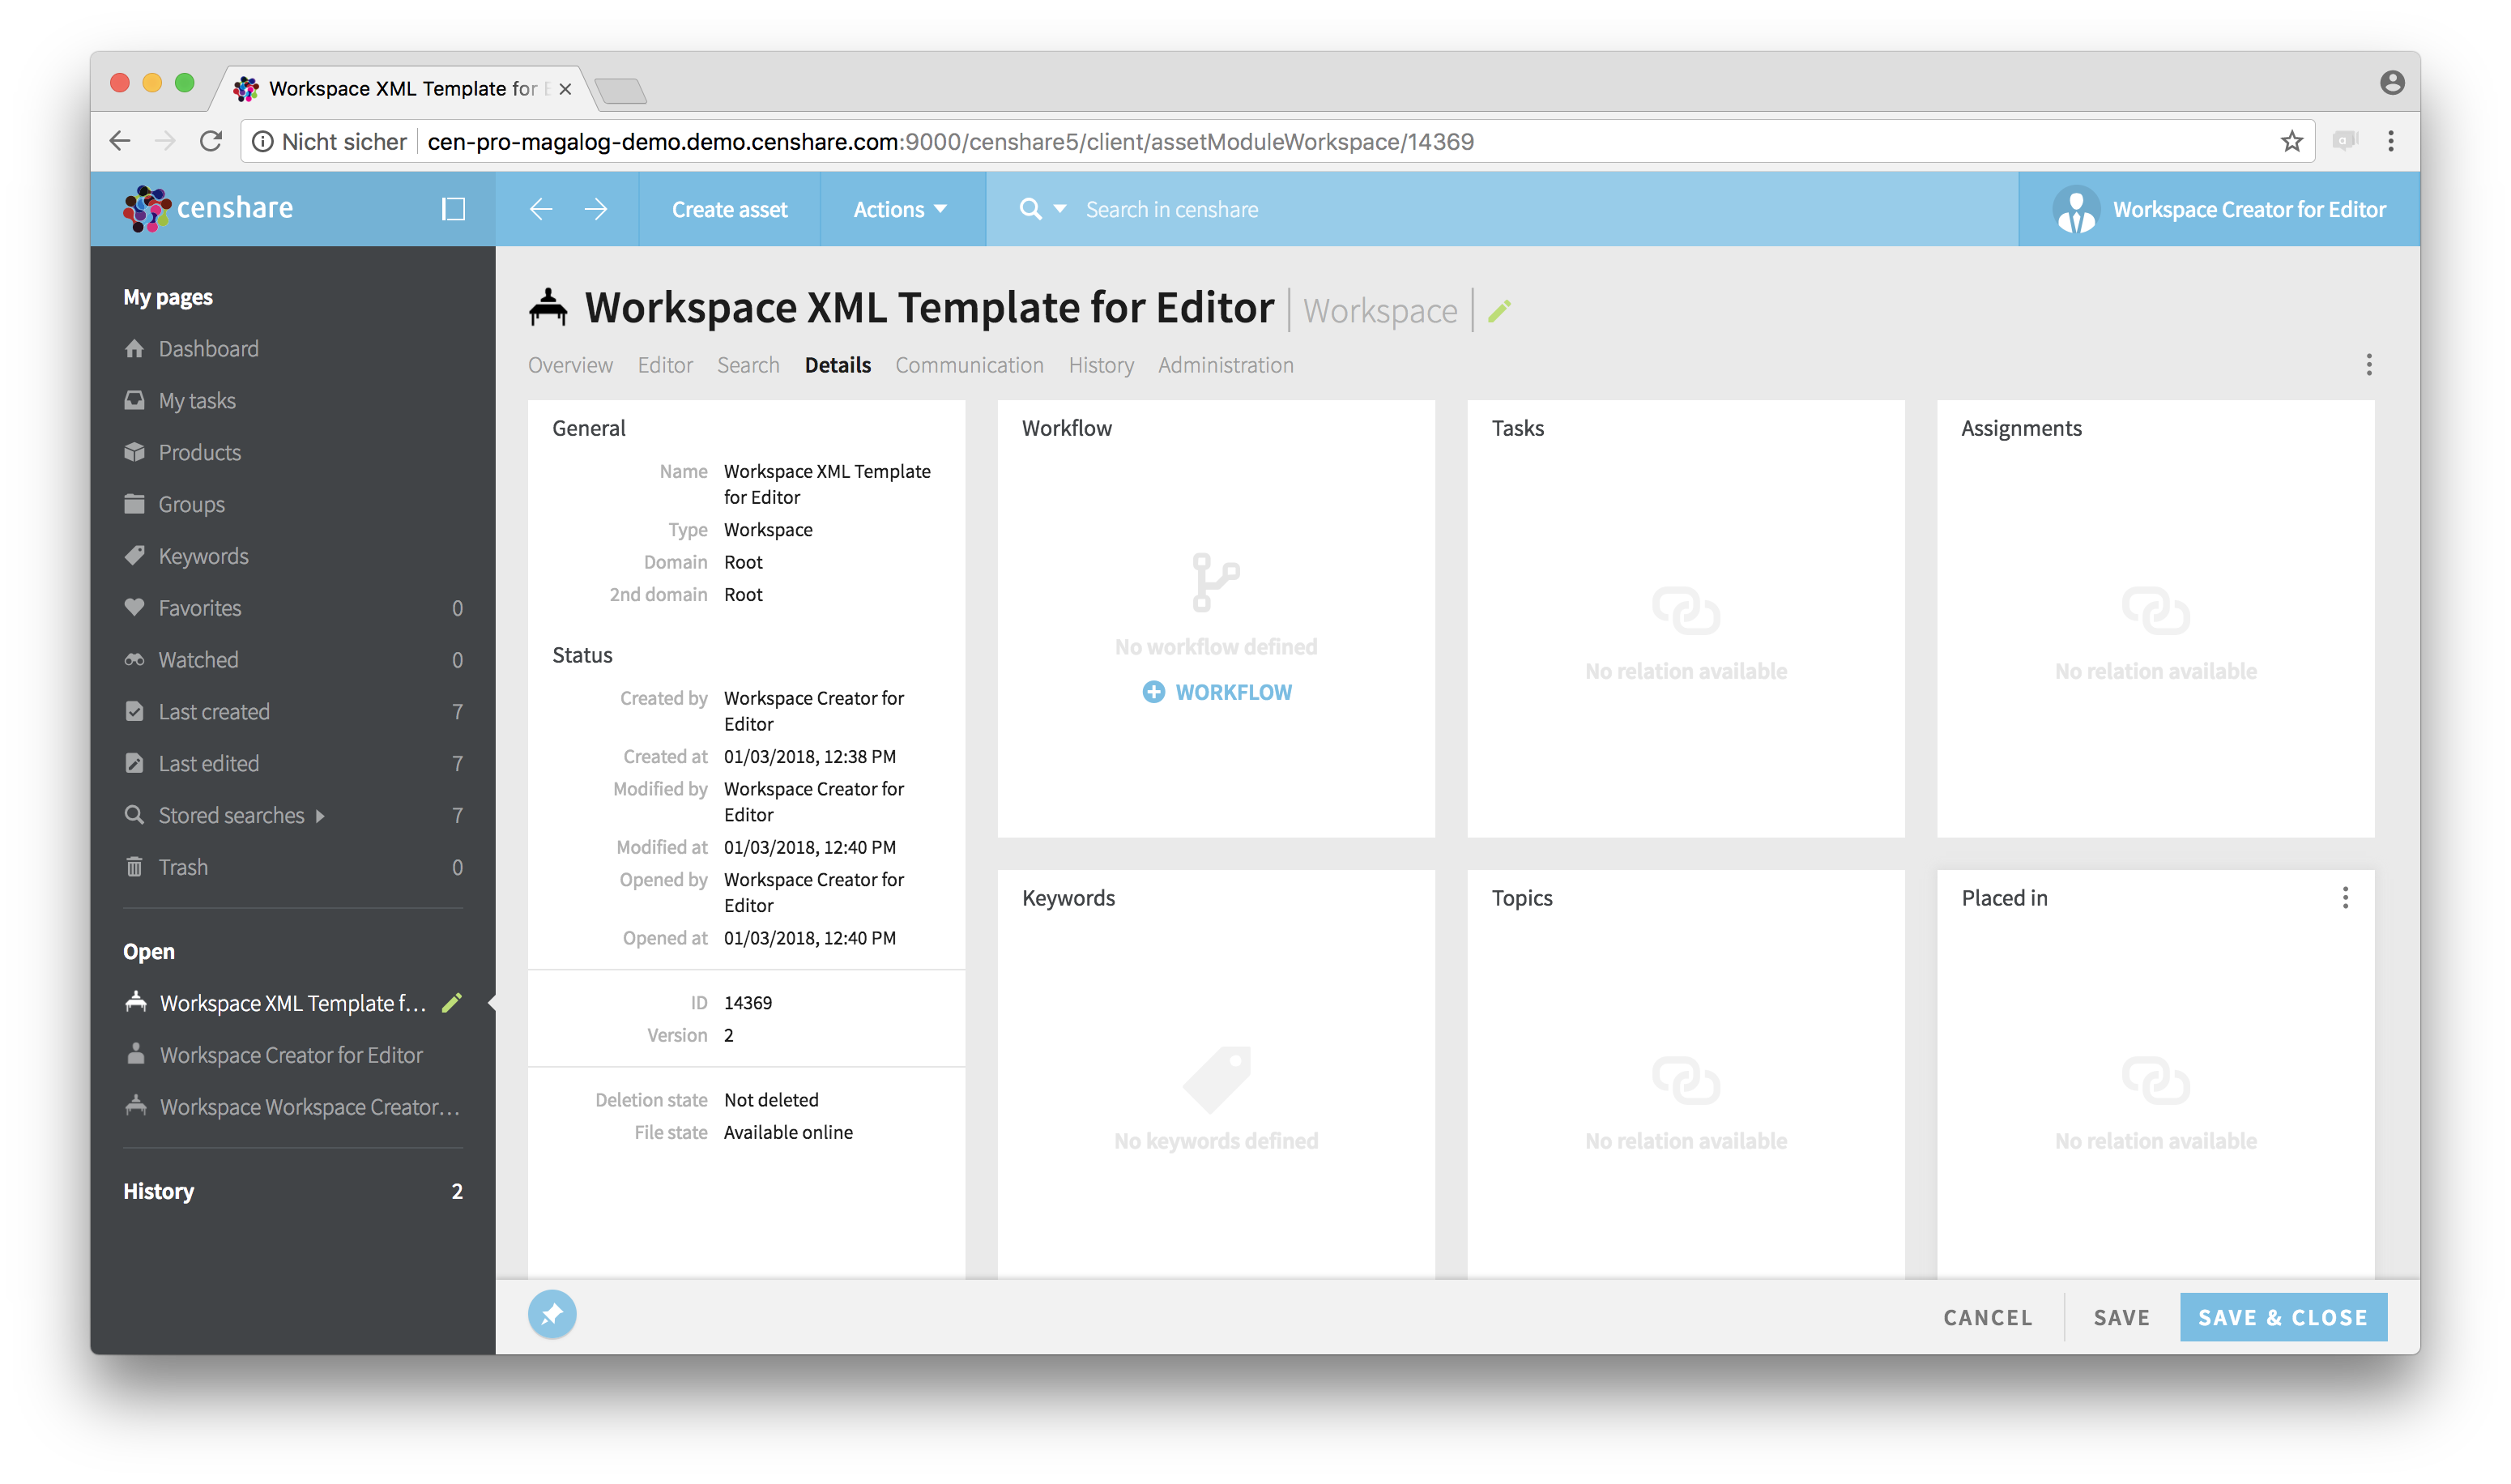
The newly created template opens in a new asset page:

New workspace template
You can now edit the template. To do this, go to "Details" tab. Open the "General" widget and rename the template:

"Details" tab
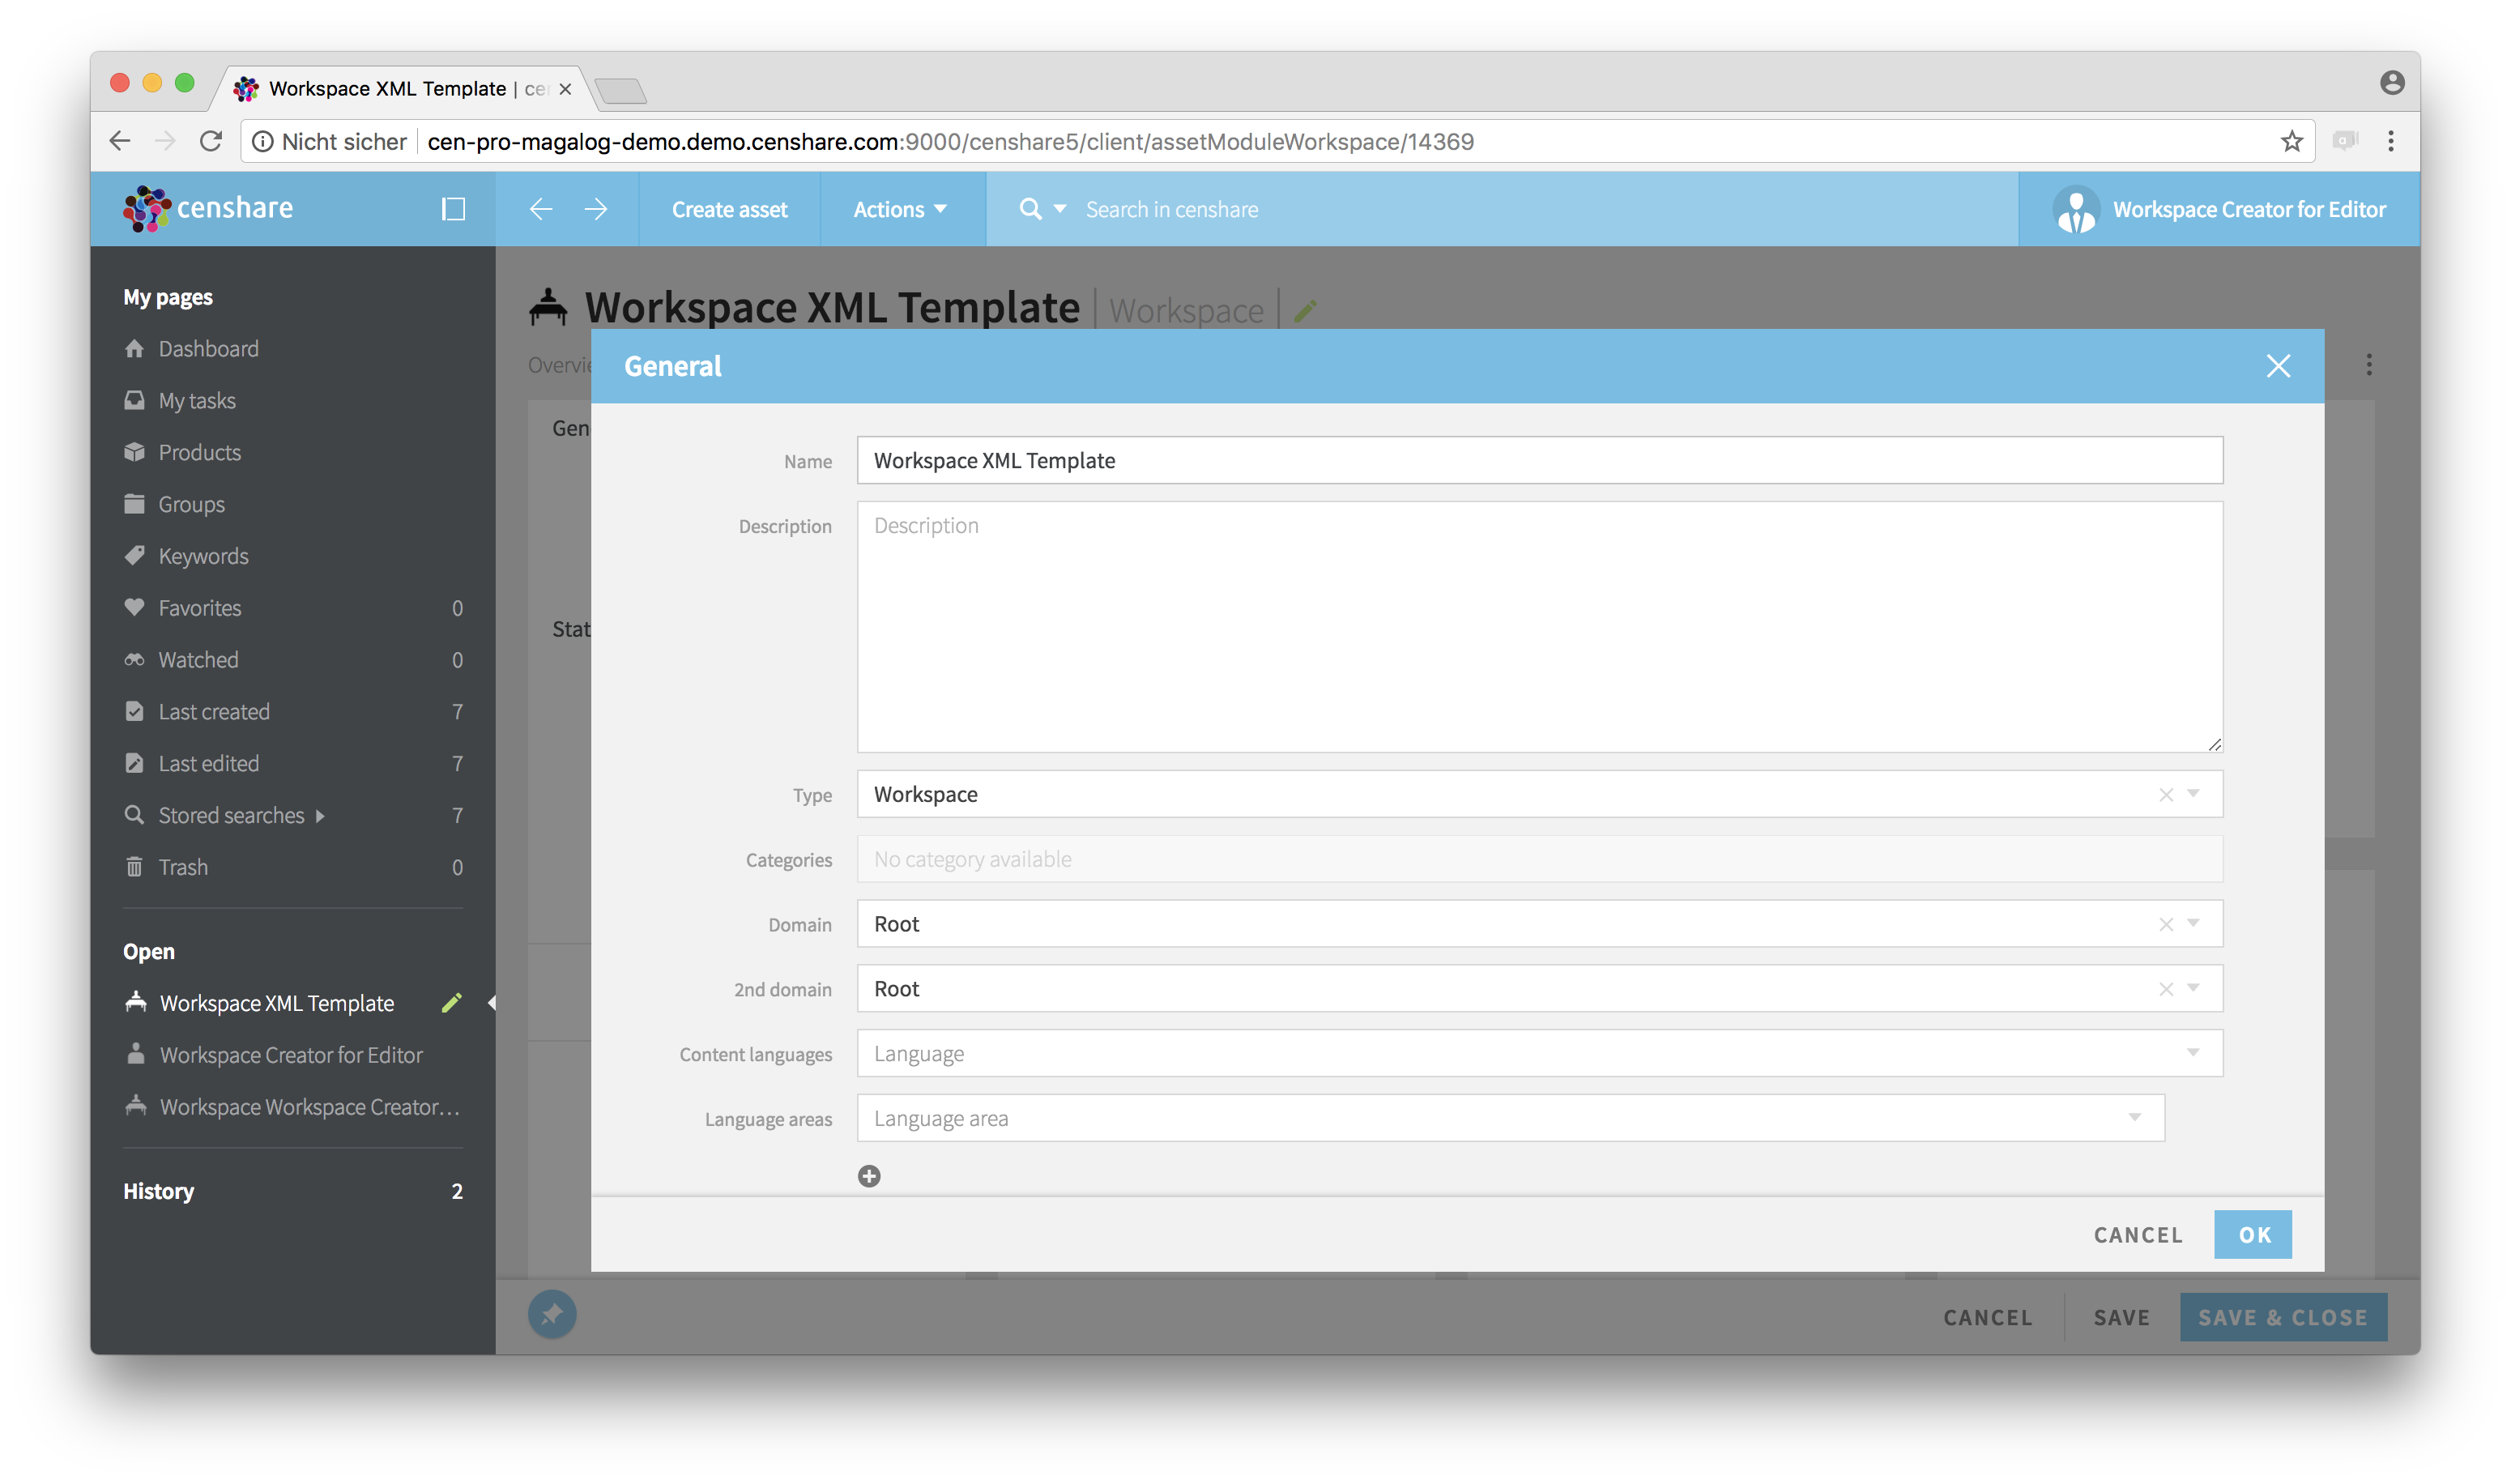
Widget edit dialog

Rename template
Confirm by clicking OK.
The new name is shown in the title.
Next, switch to the "Administration" tab:
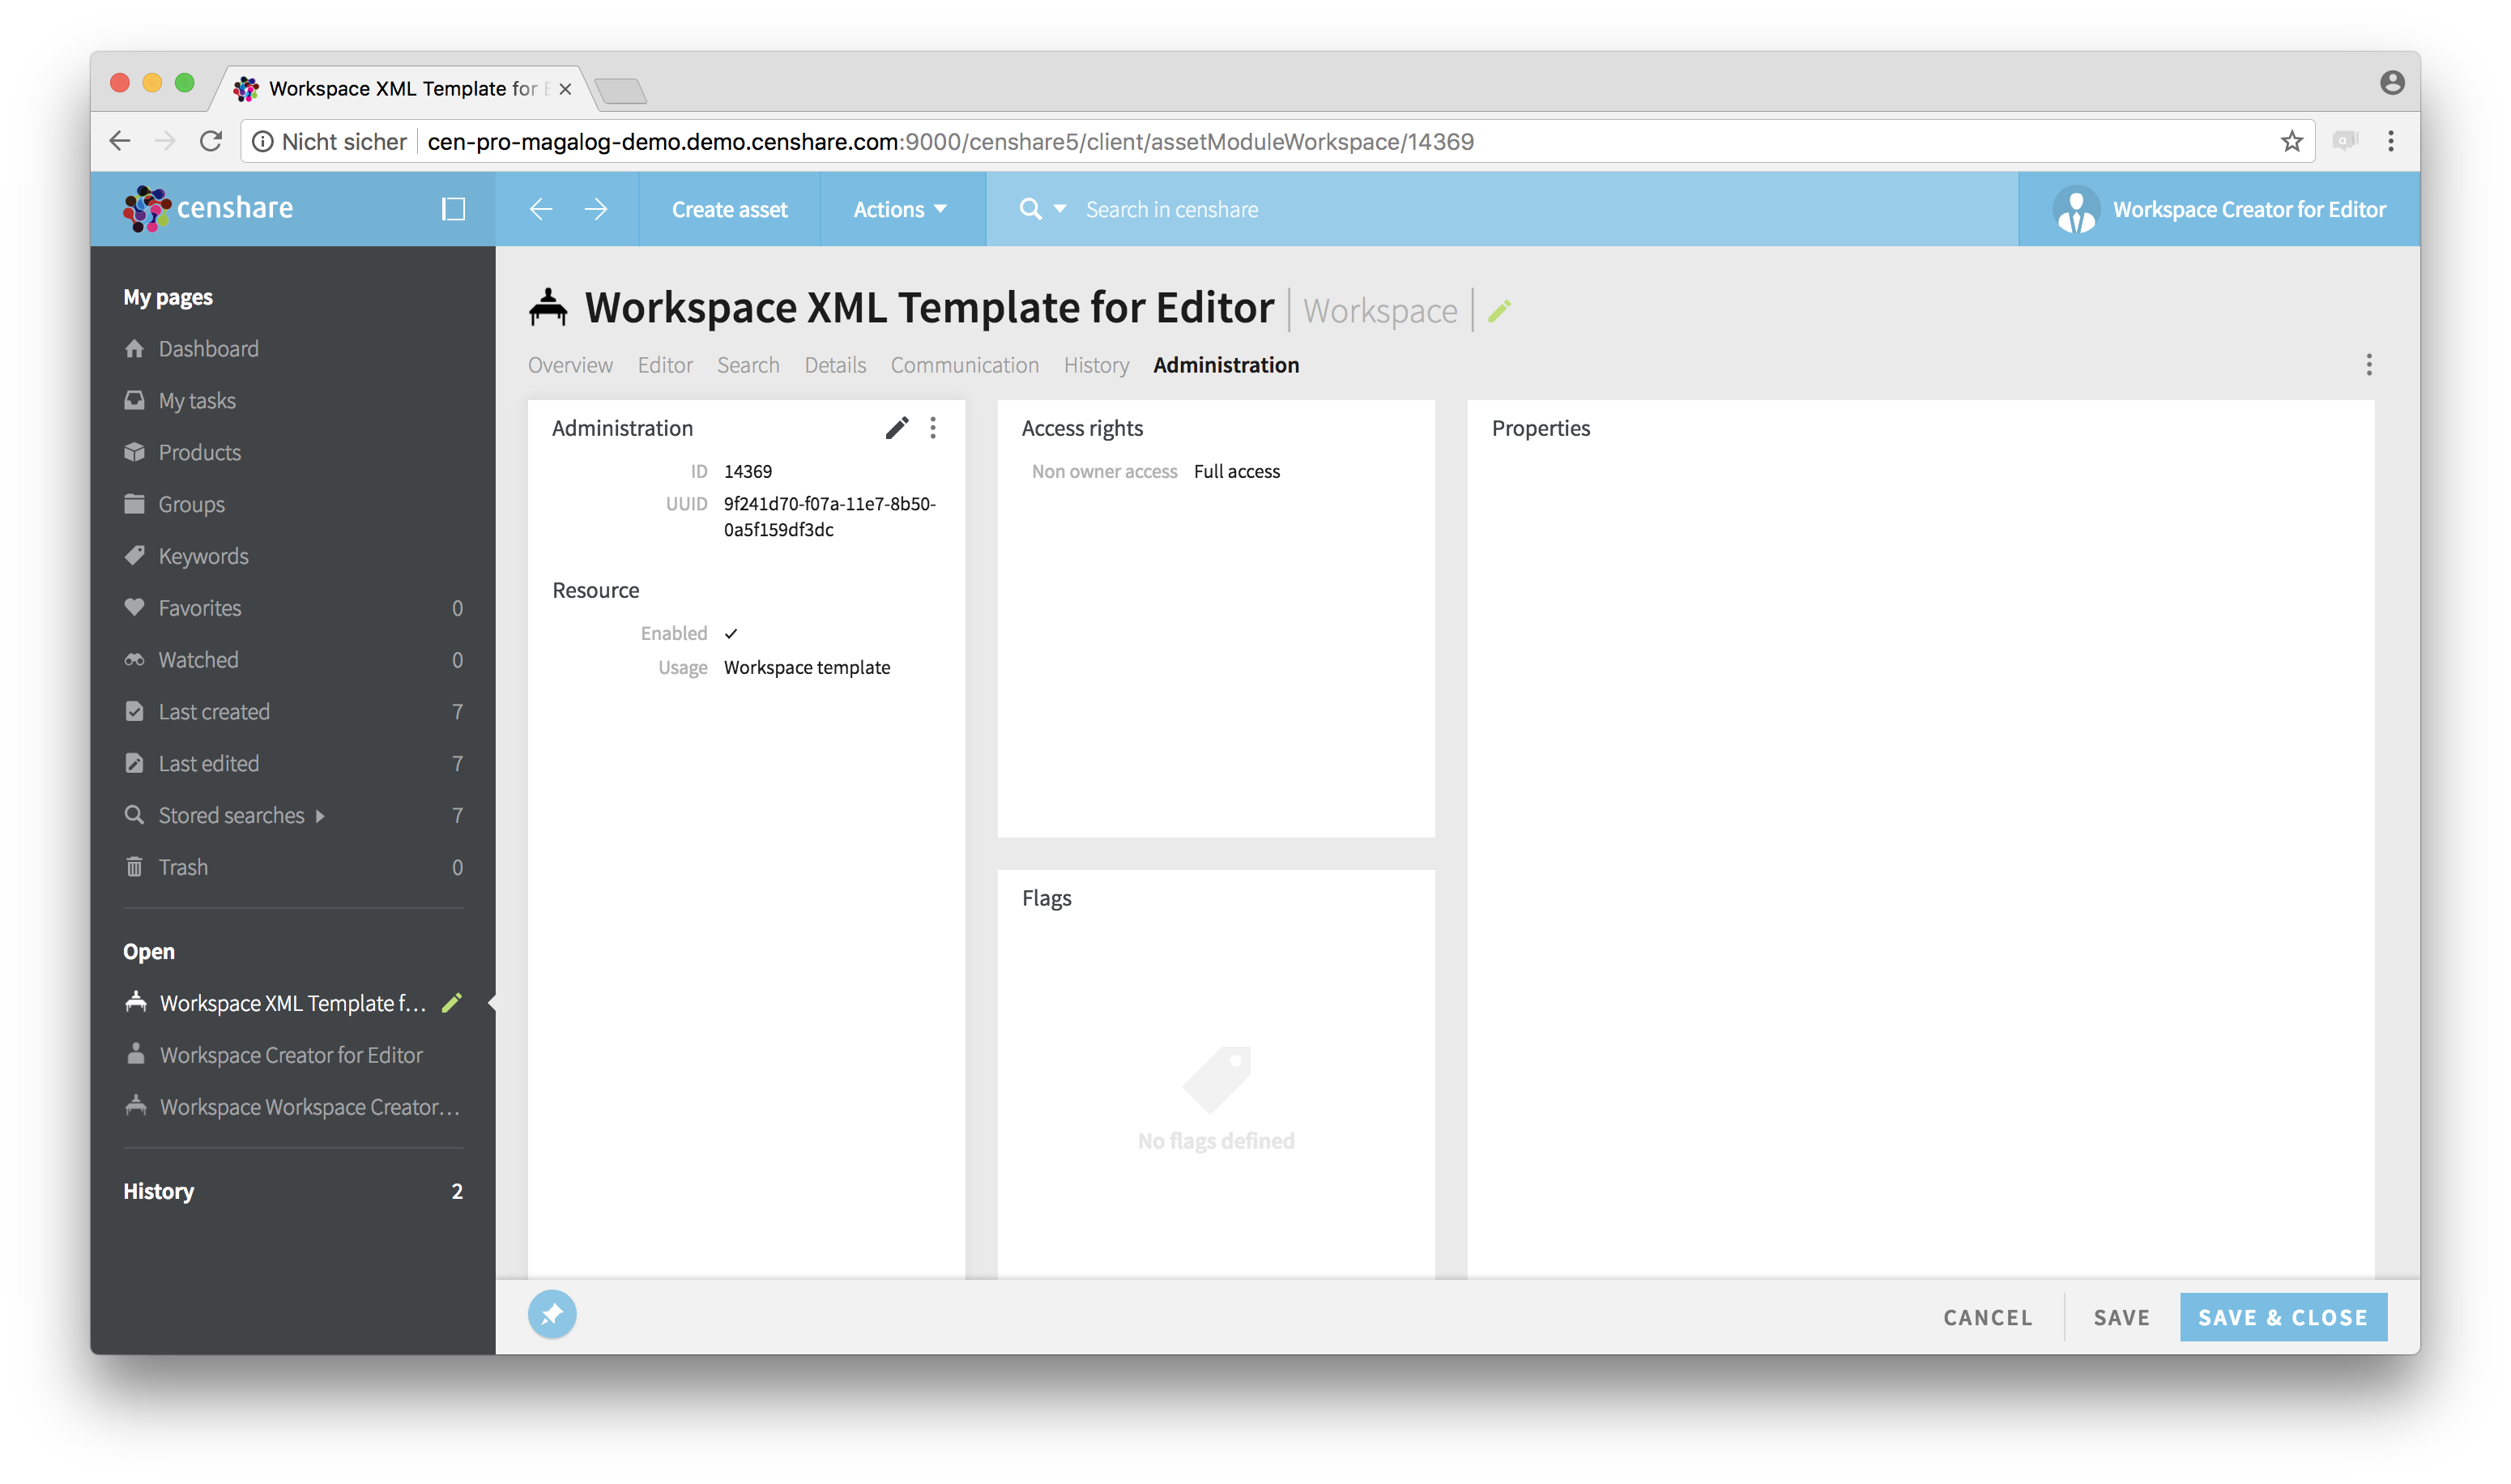
"Administration" tab
Open the "Administration and Resource" widget and enter a resource key in the field "Key":
Note:
The resource key must be unique in your censhare instance.
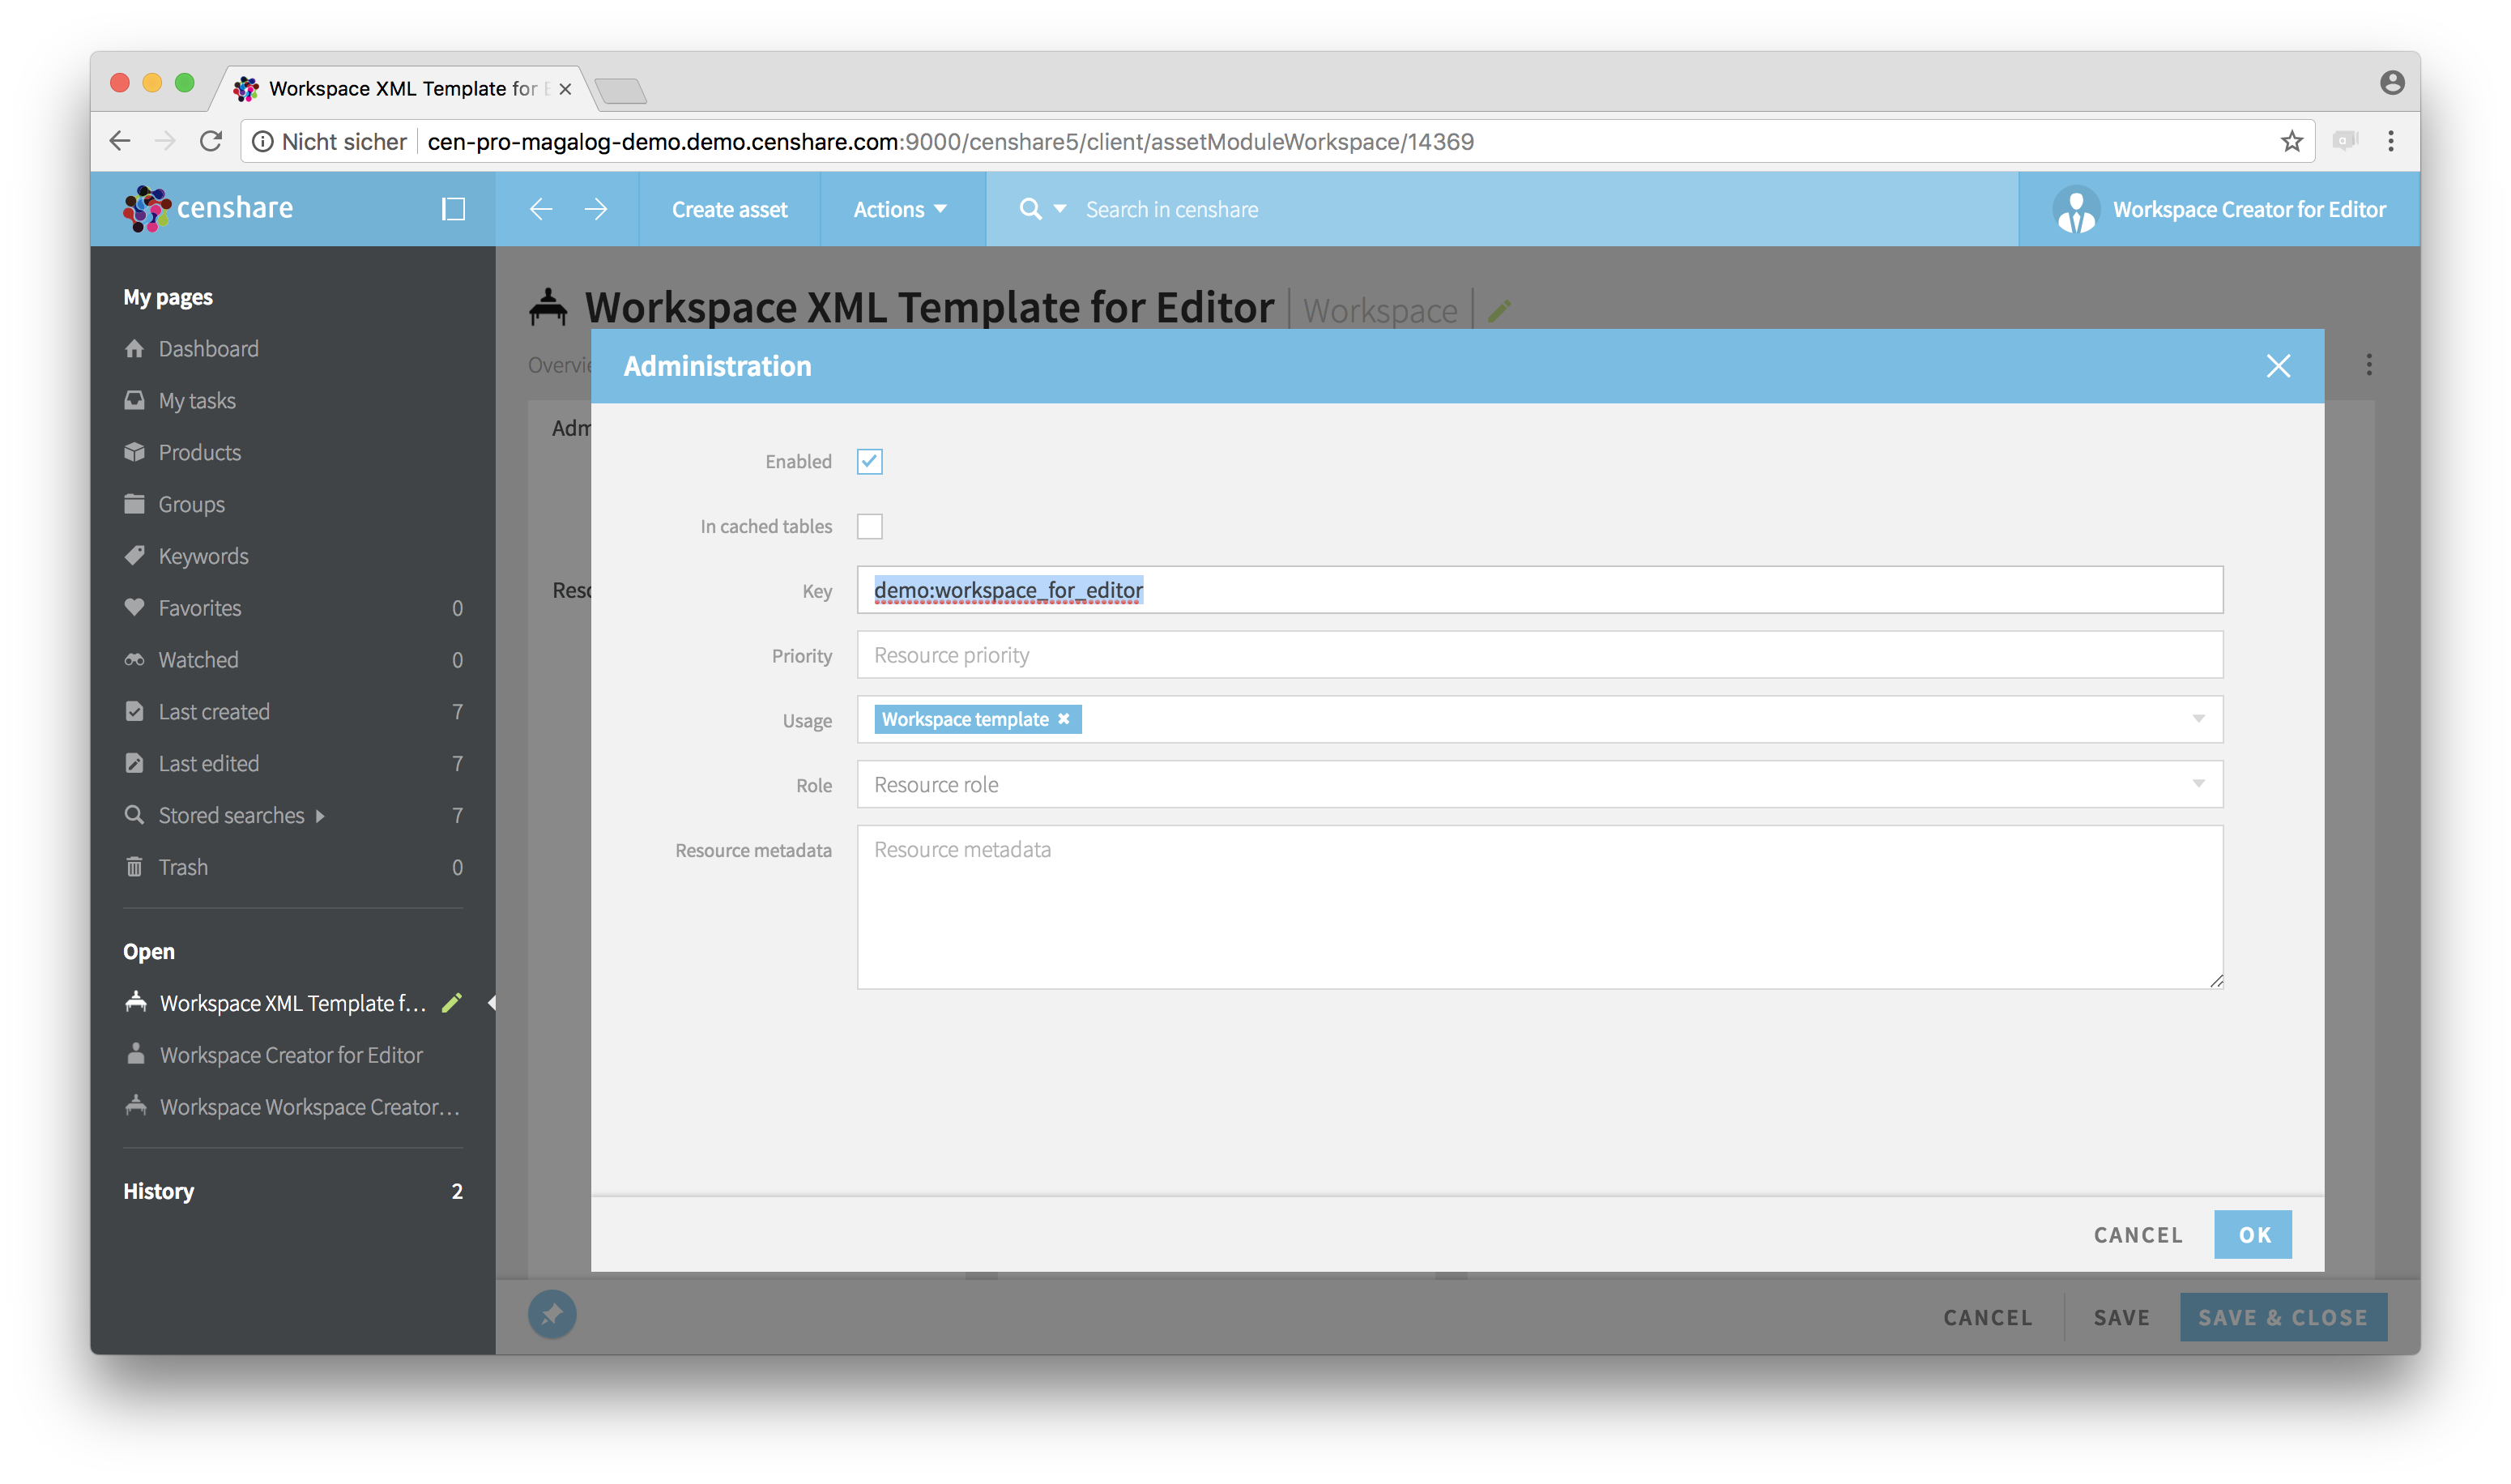
Administration dialog - Resource key
Next, select "Workspace template" in the field "Usage", if the value is not selected yet. Otherwise, keep this setting:
Administration dialog - Usage
Open the drop-down list in the field "Role" and select "Editor":
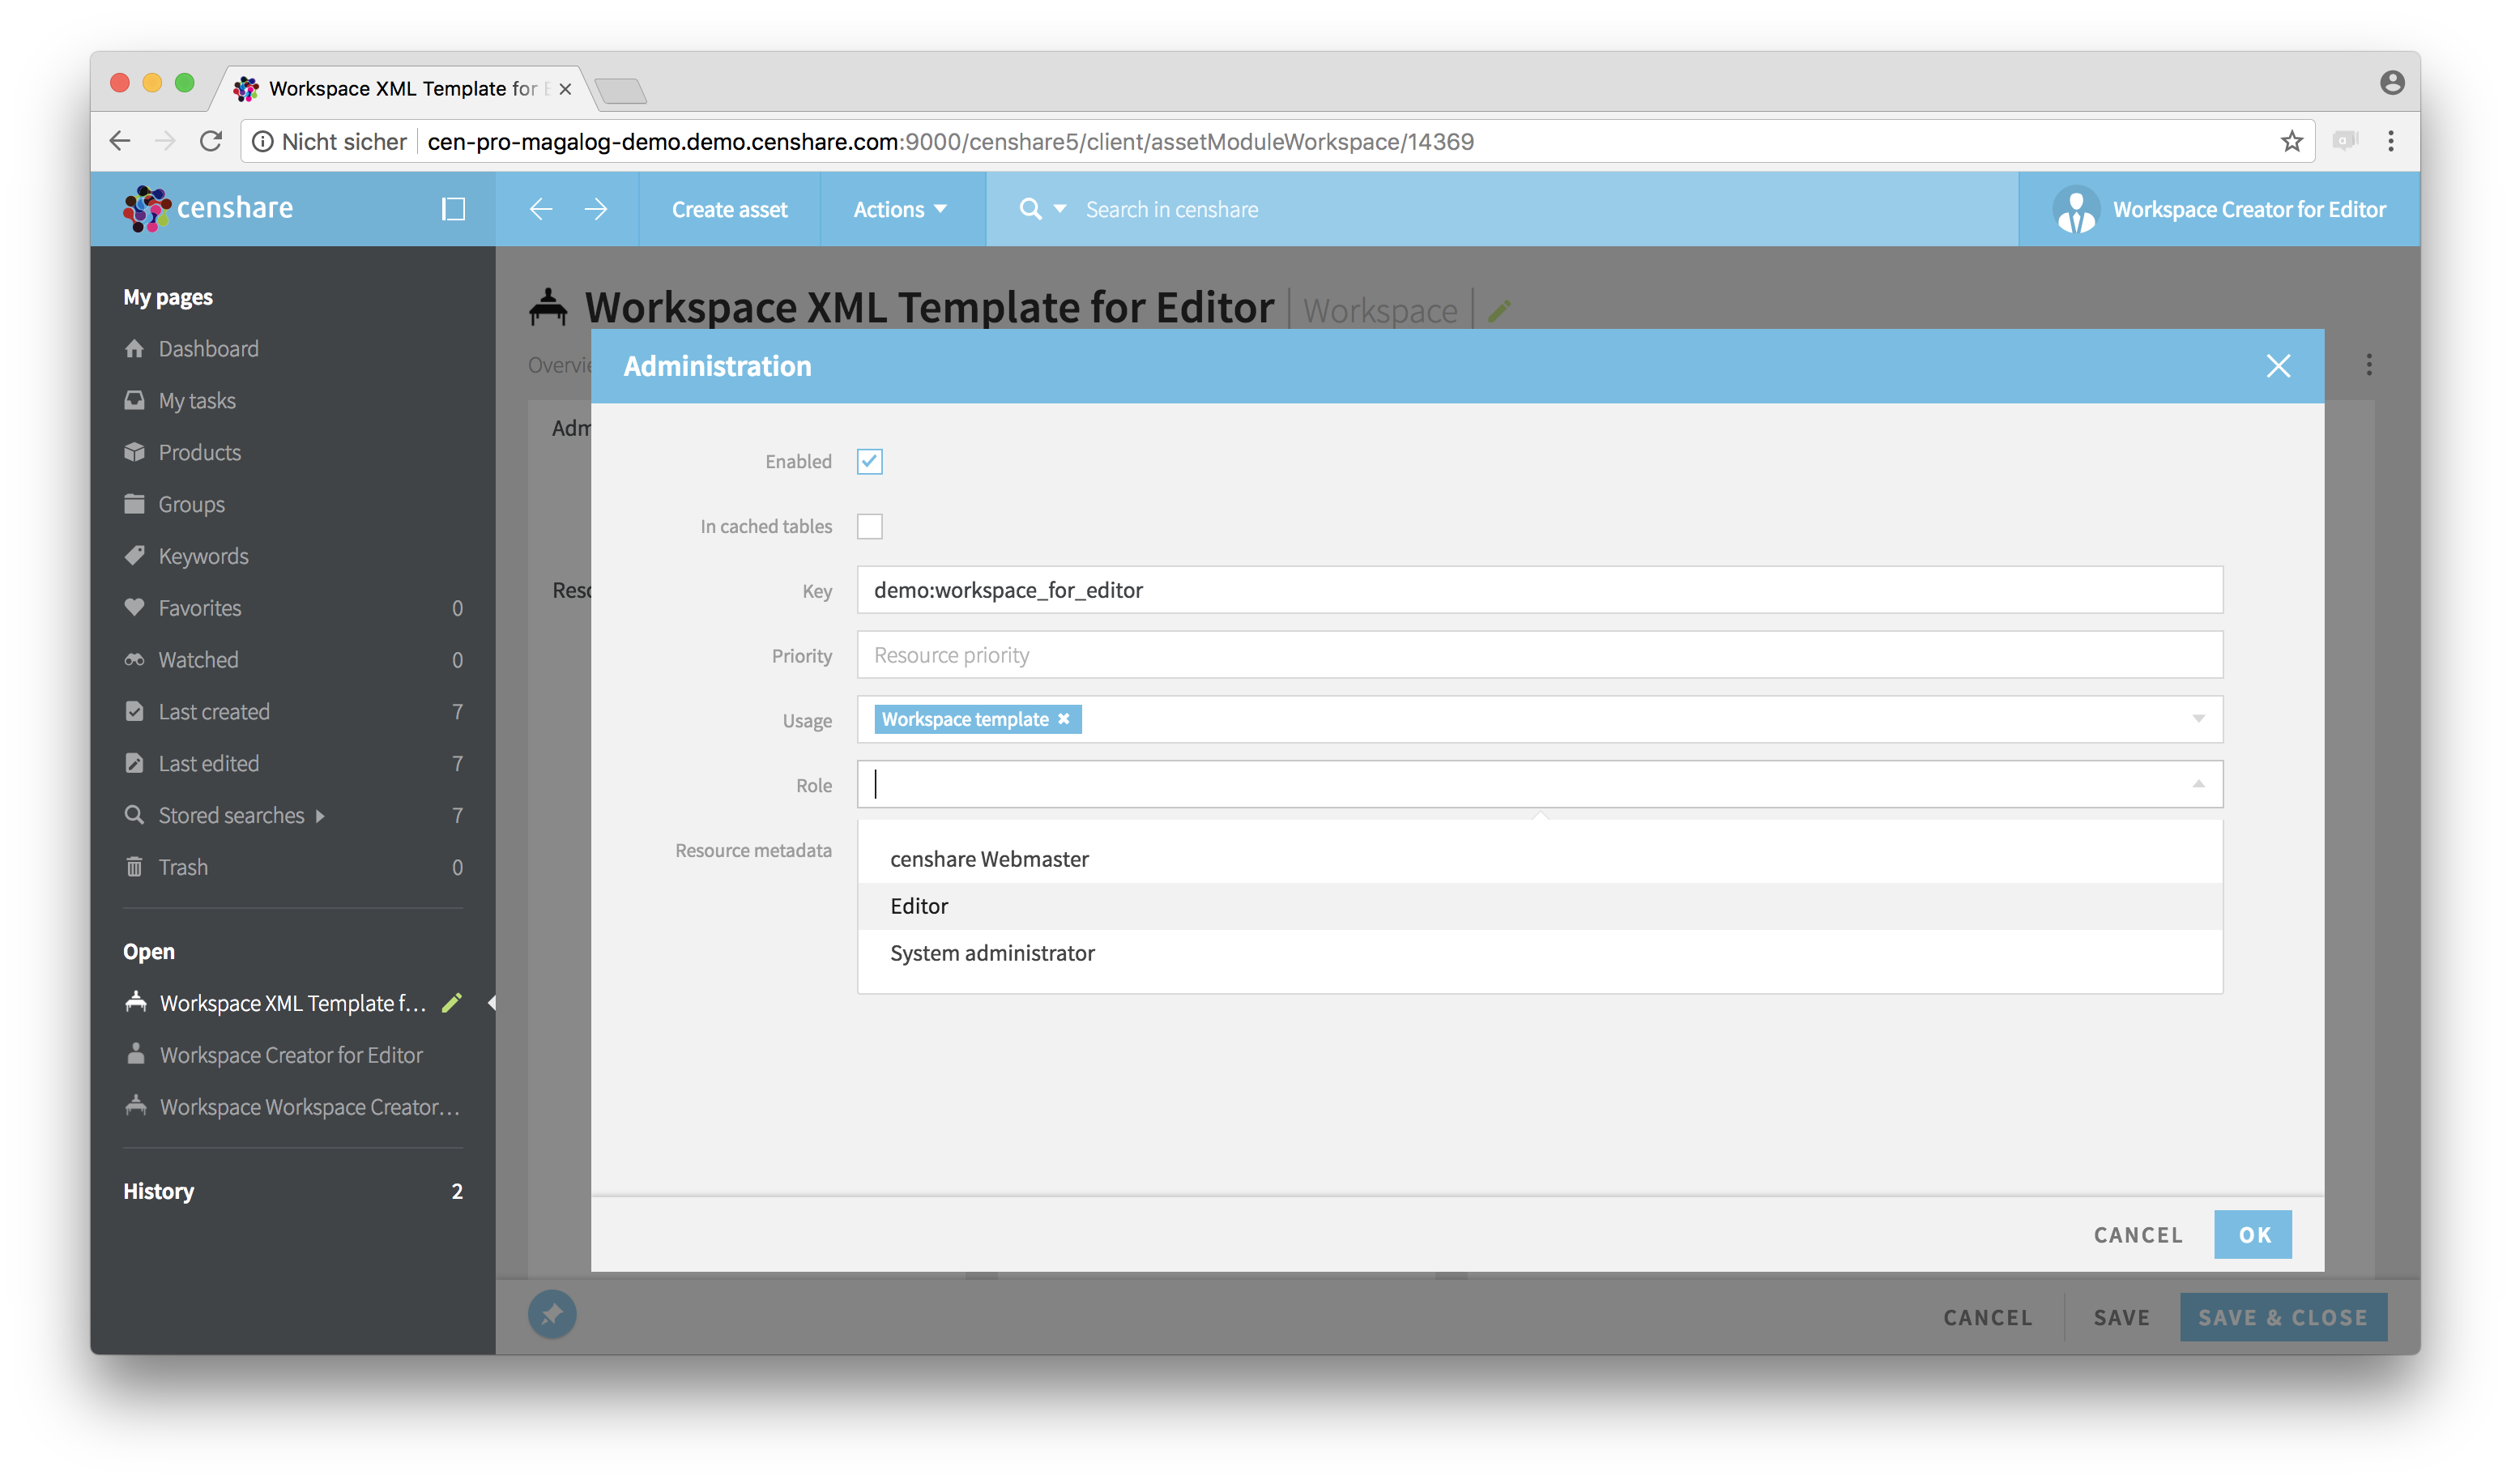
Administration dialog - Role
Confirm and close the dialog by clicking OK. Save your changes in the asset by clicking SAVE or "SAVE & CLOSE":

Customized workspace asset
Resume: You have now renamed the new workspace asset and assigned it to the "Editor" role.
Step 7 – Test the template
To test the new template, login as "Editor User":
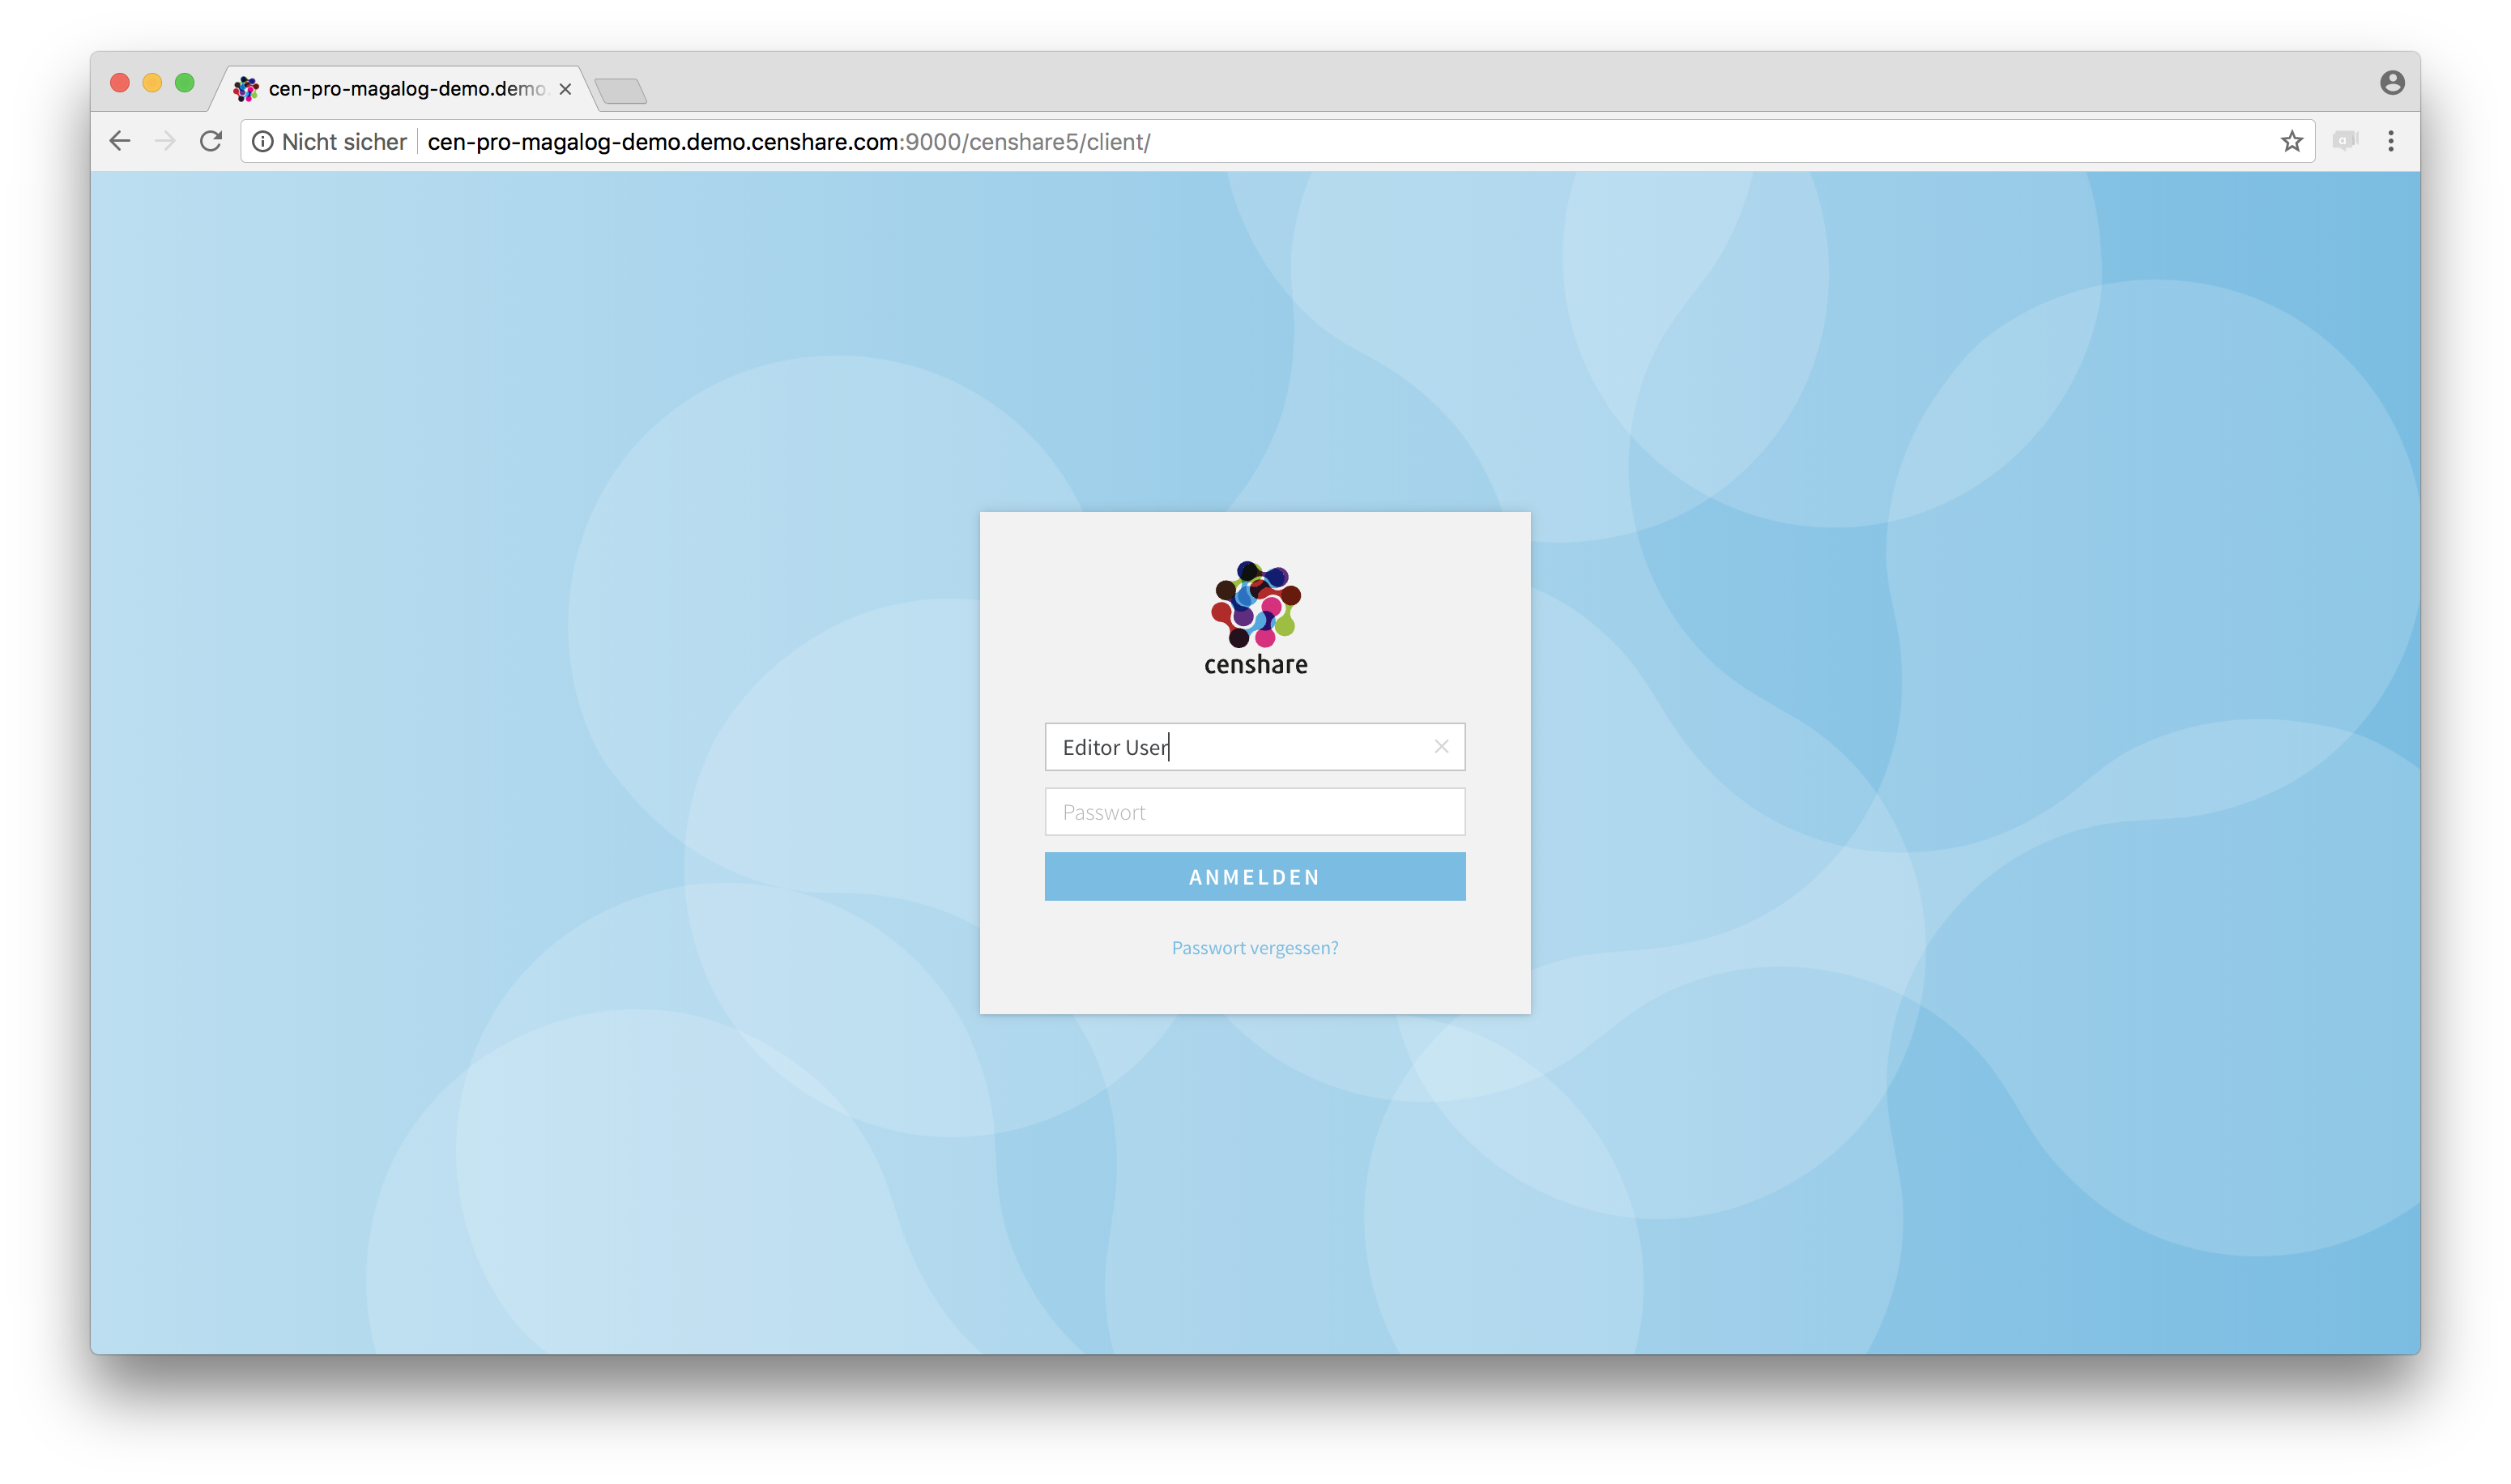
Test user login
Tip:
It is not necessary to log out your current user, in case you want to do further customizations. Instead, open a new browser window using "incognito mode" to login with the test user.

Dashboard of the "Editor user"
The user “John Doe“, who has been assigned to the same role as the test user, will also see the new Workspace now:
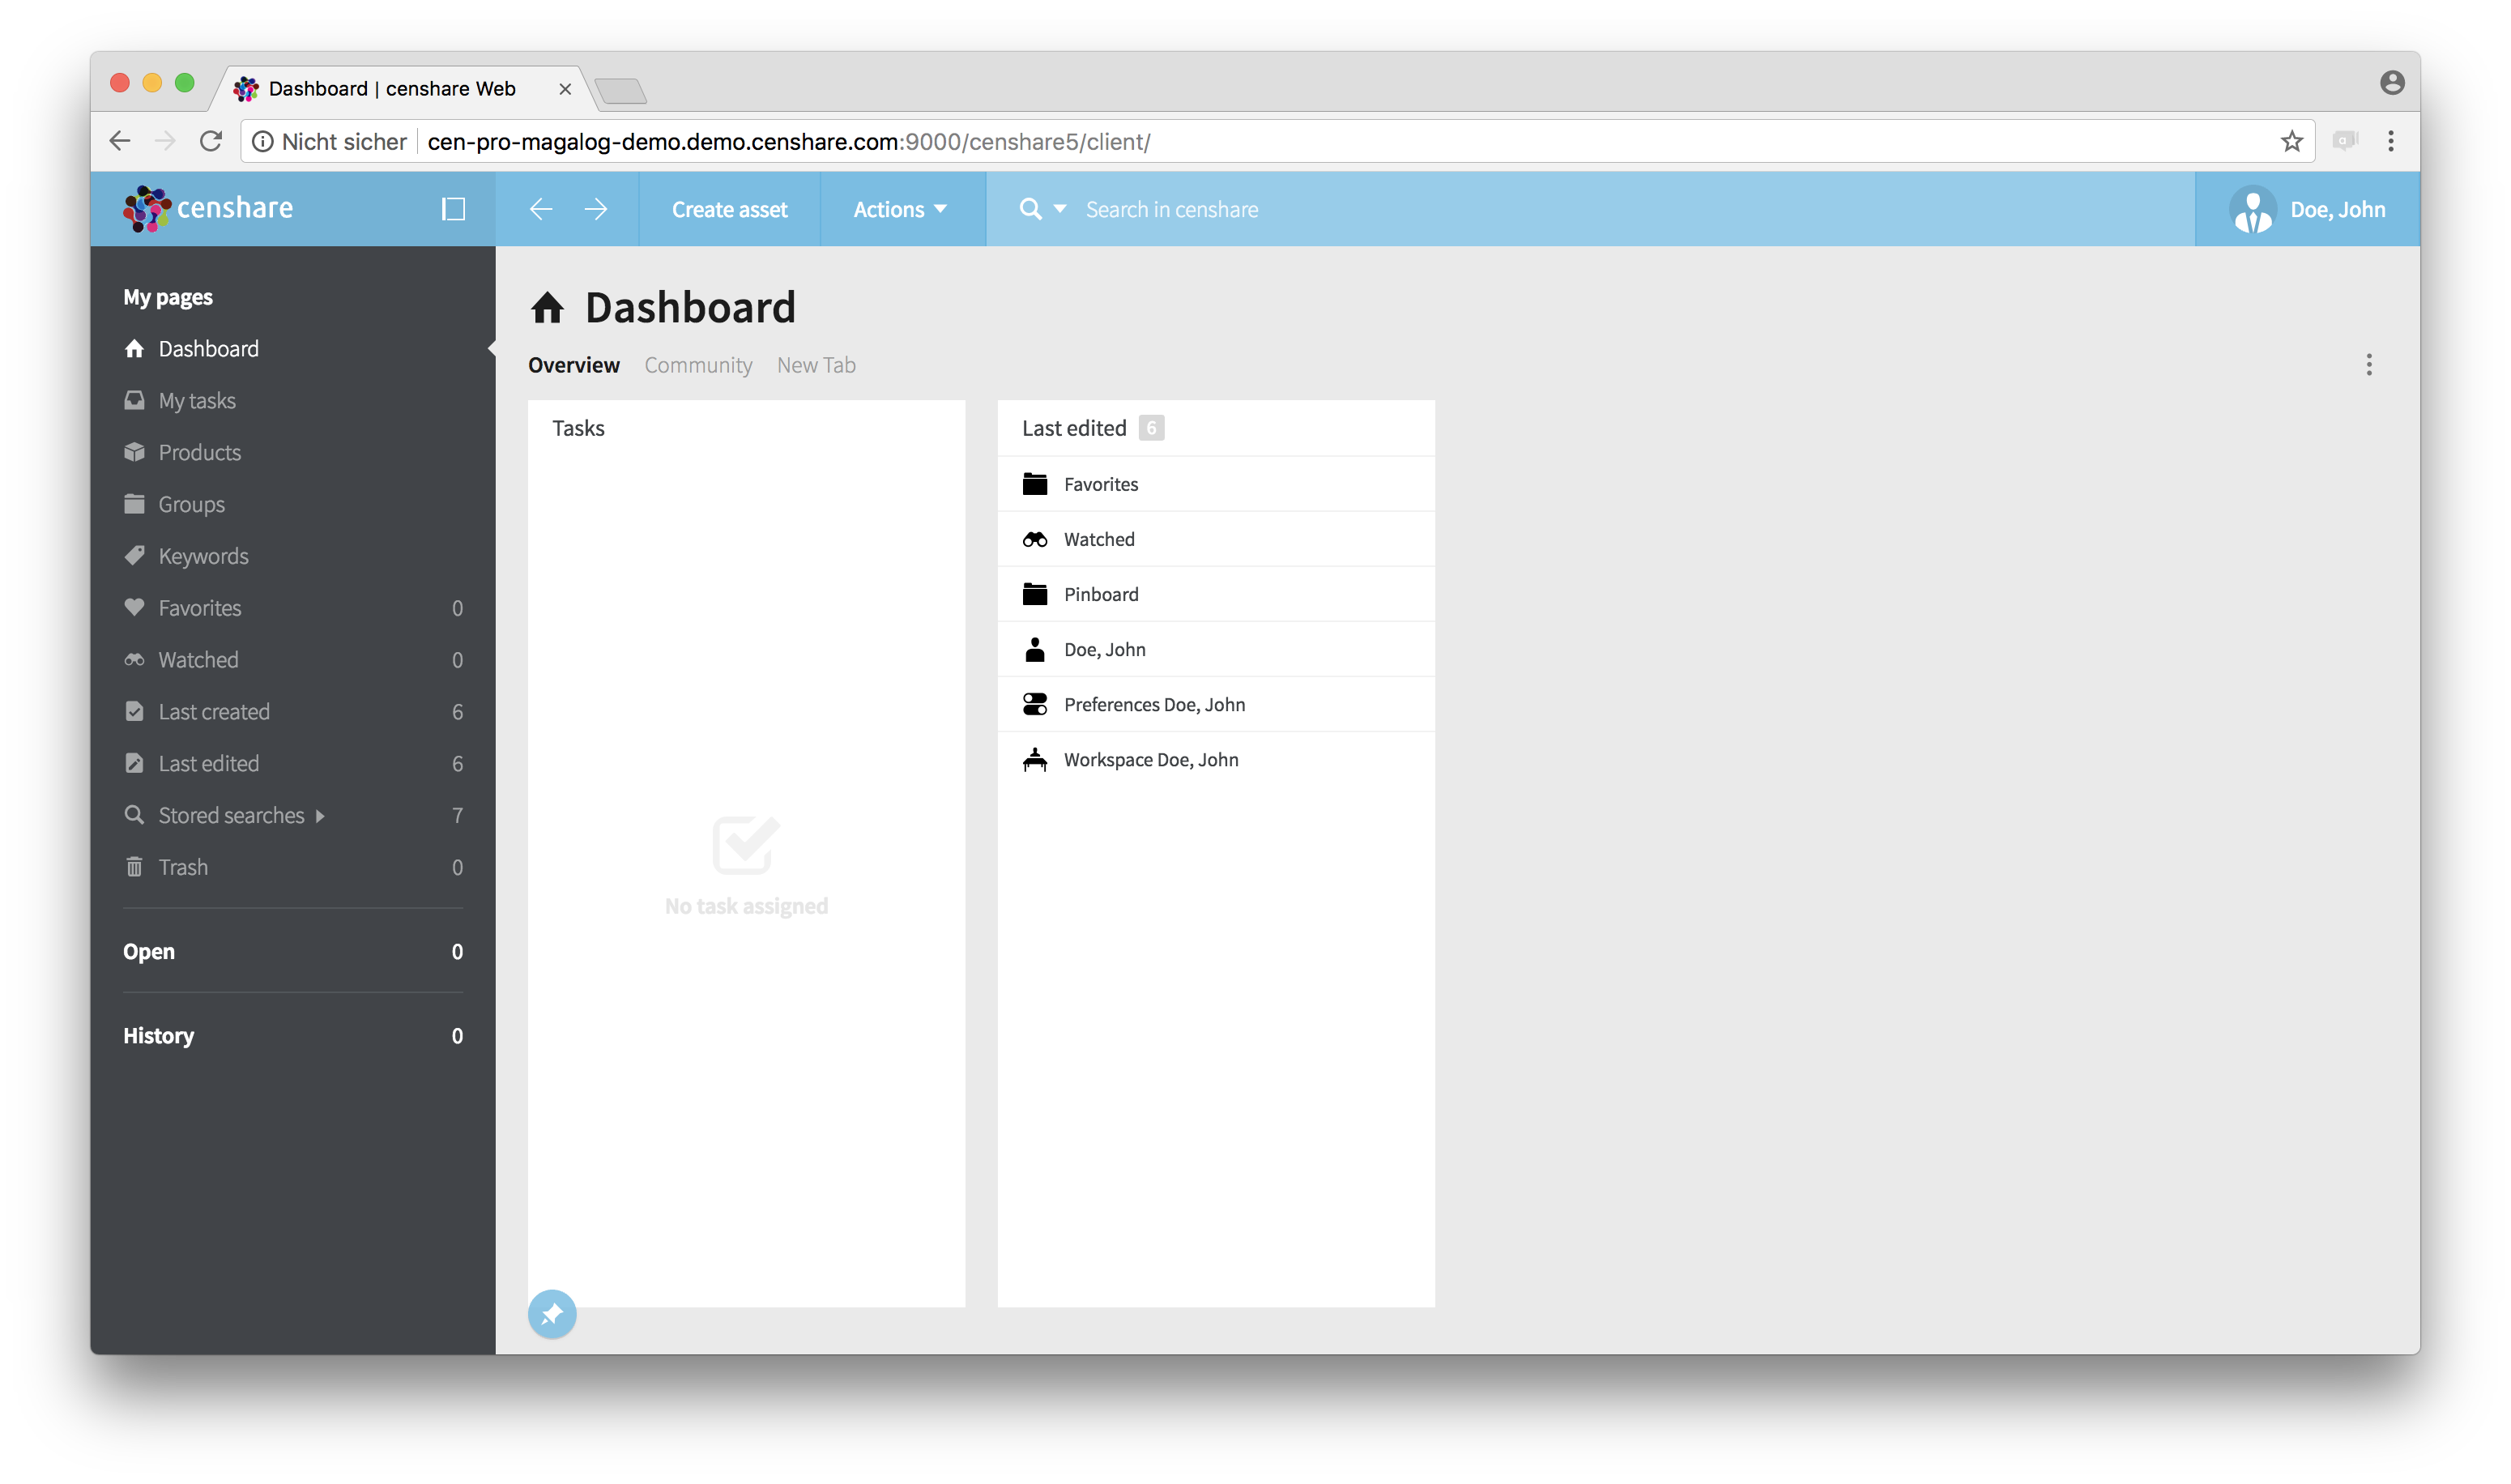
Dashboard of "John Doe"
If a user changes his workspace in the user settings, this prevents censhare from applying the new workspace template to that user. In this case, ask "John Doe" to reset his workspace by clicking "Reset workspace" in the user menu:

Reset workspace
Known issue
Issue:
If you create a workspace XML template from the user's workspace for the second or subsequent time, additional lines are added which break the XML. The user can no longer access the system.
Workaround:
Delete the following lines from the XML:
<xmlns$censhare censhare:_annotation.datatype="string">http://www.censhare.com/xml/3.0.0/censhare</xmlns$censhare>
<xmlns:censhare censhare:_annotation.datatype="string">http://www.censhare.com/xml/3.0.0/censhare</xmlns:censhare>