Introduction
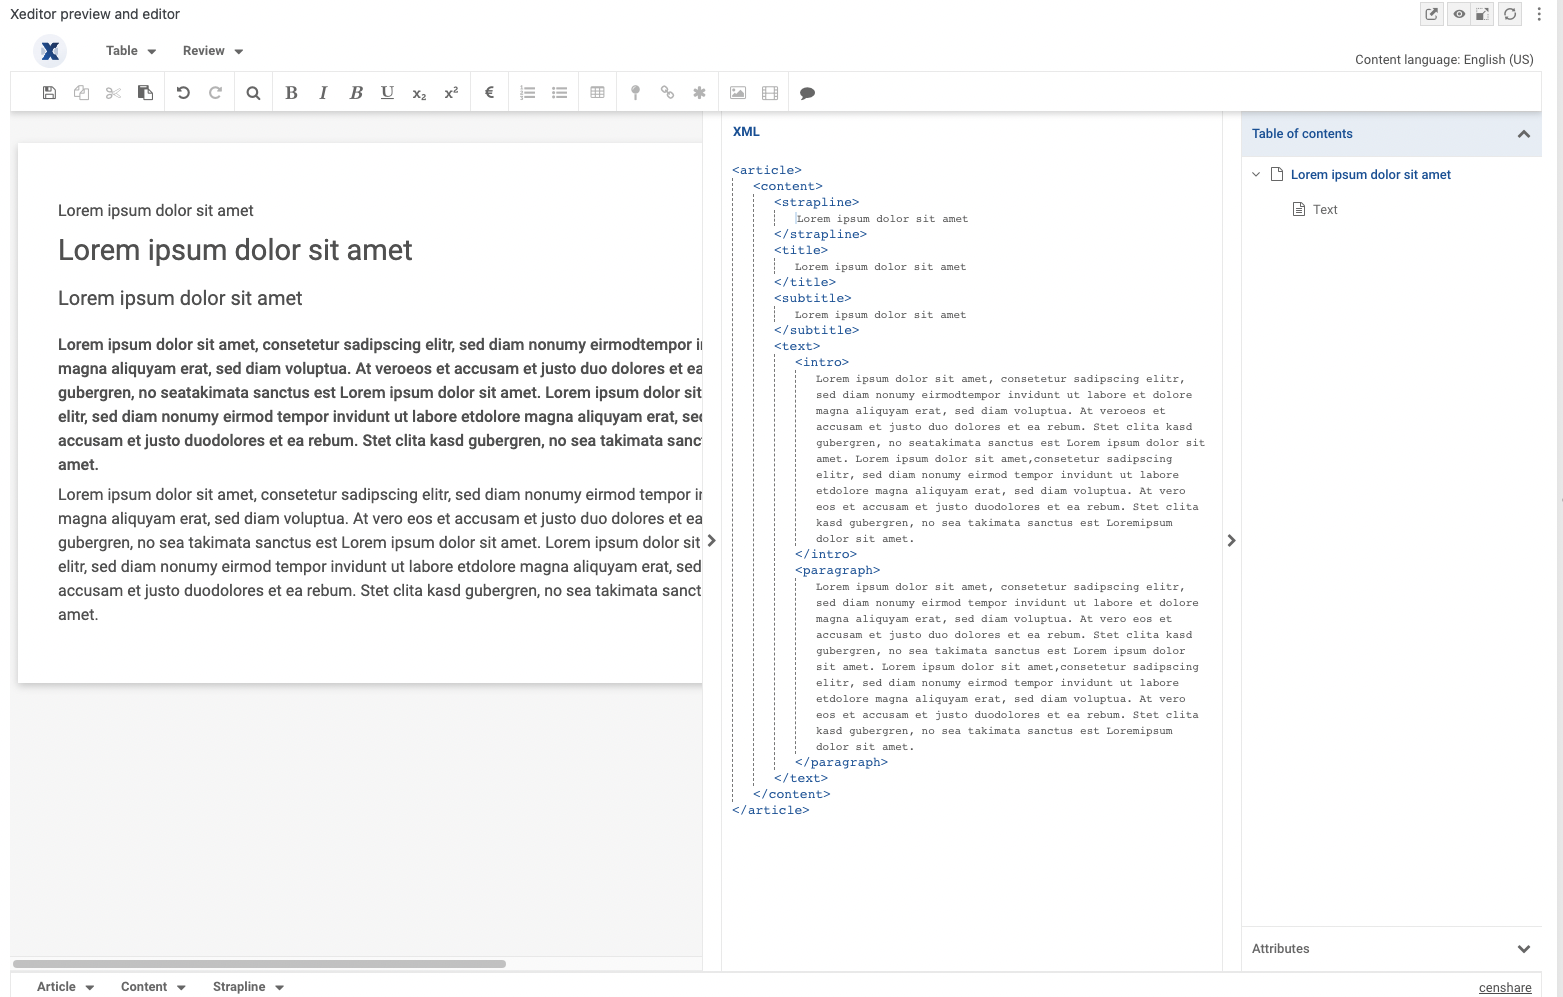
The edit mode opens and shows the Xeditor. For more information, see Create and open Xeditor texts.
Depending on your widget configuration, the Xeditor has opened inline in the widget or in another browser tab:

For more information on how-to create and open Xeditor asset, see Create and open Xeditor texts.
The following instructions are based on the Censhare Standard Content Structure schema. Depending of the customization of your schema, the XML structure might change. As of that, also the shown XML structural elements in the Xeditor UI might change.
Edit text
-
Place your cursor where you want to add text.
-
The bar on the top gives a set of icons to enrich your text, for example choose bold, insert a table or add an image.
-
Depending on the position of the cursor not all icons of editor might be available. For example, images cannot be placed in a headline.
-
For an easier navigation, you can show the XML tags in the editor pane. For more information, see Create and open Xeditor texts.
Insert an XML element in text
Using right-mouse click
-
Move your mouse over the place where you want to insert the new XML element.
-
Do a right-mouse click there.
-
The menu open: Place your cursor in the Search and insert field and start typing the name of the element that you want to insert.
-
The list of XML elements is narrowed down as you type.
-
Select the XML element that you want insert.
-
If you do not know which XML element to insert, click the Structure menu entry:
-
It lists all XML elements of the XML path, that you have selected, as menu entries, for example Article - Content - Text - Bullet list - List item - Paragraph.
-
Go to the entry for which you want to insert the XML element, for example List item.
-
Select Insert element.
-
A list of elements shows up that are allowed to insert at the selected place.
-
Select the desired XML element.
Using the XML path
-
Place your cursor in the text from where you want to insert the new XML element.
-
The bottom bar shows now the XML path of your text element, for example Article - Content - Text - Bullet list - List item - Paragraph.
-
Each XML element offers you a list of XML elements that you can insert. For example:Click Bullet list.A menu opens: Click Insert element.The Bullet list only allows you to enter a new List item because of the defined XML structure in the Censhare Standard Content Structure schema.
Change the type of an XML element
Using right-mouse click
-
Move your mouse over the place where you want to insert the new XML element.
-
Do a right-mouse click there.
-
The menu open: Click the Structure menu entry: It lists all XML elements of the XML path that you have selected as menu entries, for example Article - Content - Text - Bullet list - List item - Paragraph.
-
Click the XML element type of the entry that you have selected with your right-mouse click: It is the last entry. In our example it is Paragraph.
-
A sub-menu opens: Click Change type.
-
A sub-menu opens: It lists all XML types to that you can change the selected XML element.
-
Click the desired XML element type.
Using the XML path
-
Place your cursor in the XML element of the text that you want to change.
-
The bottom bar shows now the XML path of your text element, for example Article - Content - Text - Bullet list - List item - Paragraph.
-
Each XML element offers you a list of XML elements that you can use instead of the actual one. For example:Click Bullet list.A menu opens: Click Change type.The Bullet list allows you to use a Numeric List instead because of the defined XML structure in the Censhare Standard Content Structure schema.
-
If the XML element does have this option, you cannot change the XML type here.
Change or add attributes
-
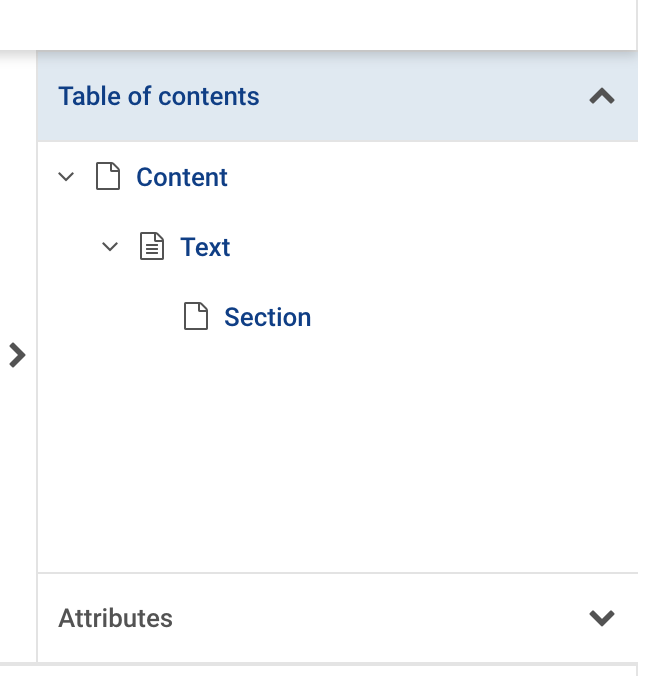
Go to the Table of contents pane.
-
In the bottom, click Attributes:

-
The Attributes edit pane opens.
-
Go to the XML element where you want to add an attribute and place your cursor there.
-
The Attribute pane shows the XML path of the selected XML element and any existing attributes, for example:

-
For an easier navigation, you can also show the XML tags in the editor pane. For more information, see Create and open Xeditor texts.
-
In the Add attribute menu select the attribute that you want to add, for example the style of a paragraph.
Then, select the value of the attribute, for example the style of a paragraph:

-
If you want to add another attribute, go to the Add attribute selection box again and select another attribute to add.
-
To change an existing attribute, go the respective attribute selection box, and select another value respective enter another value for that attribute.
Insert pictures
-
Place cursor at the text where you want to add the picture.
-
Click the image icon in the top bar of the Xeditor.
-
A list of selectable images shows up. Note that the list of images that shows up depends on the configuration of your system. If the desired image does not show up in the list, contact your Censhare Web Admin: He can check the configuration of the image search in the selection list.
-
Use the search field at the top to filter the image list.
-
Mark one image and click Select.
-
The image is inserted at the place of your cursor.
Delete pictures
You can use the Backspace button or the bottom bar to delete a picture.
Using the Backspace button:
-
Click the picture.
-
Press the Backspace button.
-
The image is deleted.
-
To delete the Image box, press the Backspace button once again.
-
The image box is also deleted.
Using the bottom bar:
-
Click with the cursor behind the picture preview in edit pane.
-
The bottom bar now shows the XML path to the image, for example Article - Content - Text - Image box - Image.
-
Click Image box.
-
A menu opens: Click Delete.
-
The picture including all related XML tags is removed.
There is a known bug for the Safari web browser: You cannot delete pictures using the Backspace button.
Use the preview widget
-
Use the Preview widget to see a preview of your text. This is especially useful while you are editing and want to see how your text looks like.
-
Choose between a PDF or an HTML based preview.
-
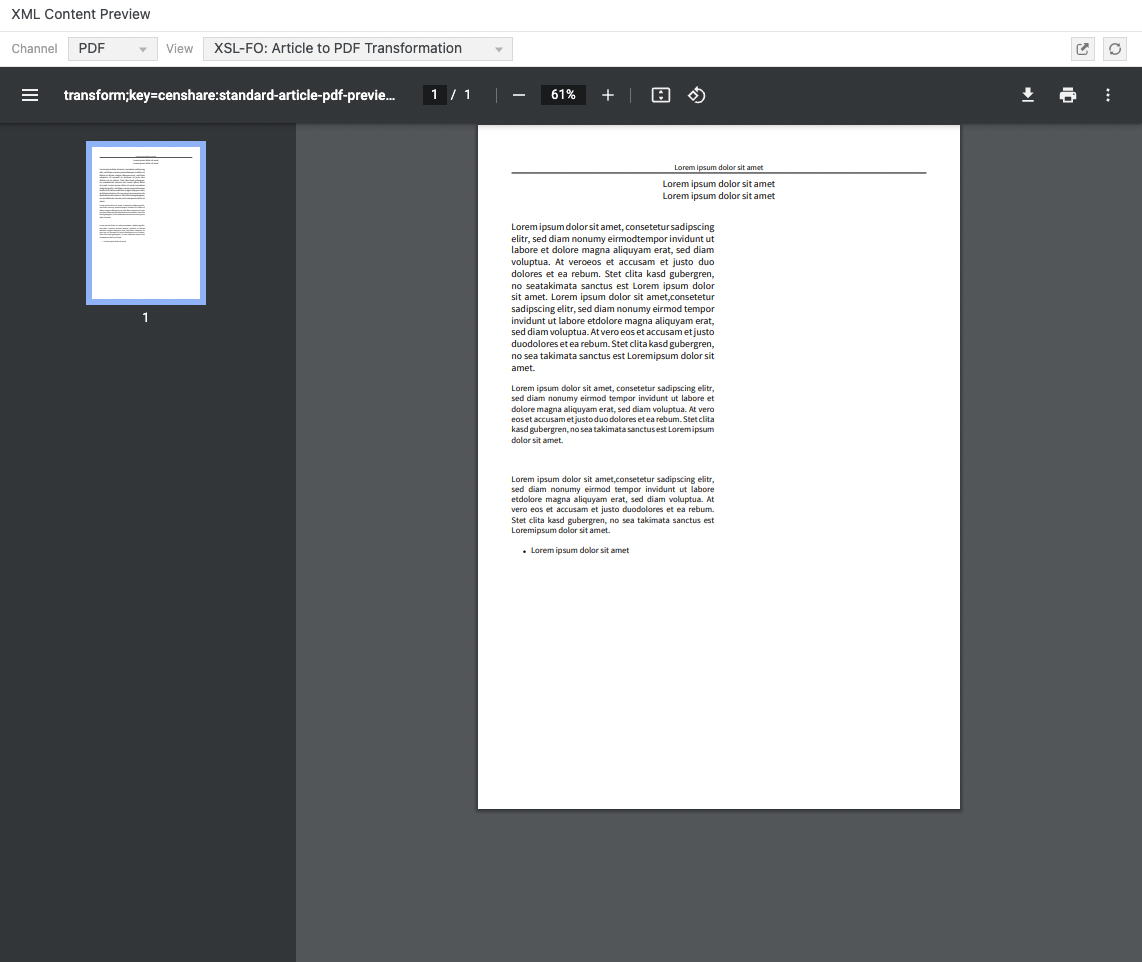
The PDF rendering uses XSL-FO for the transformation.
-
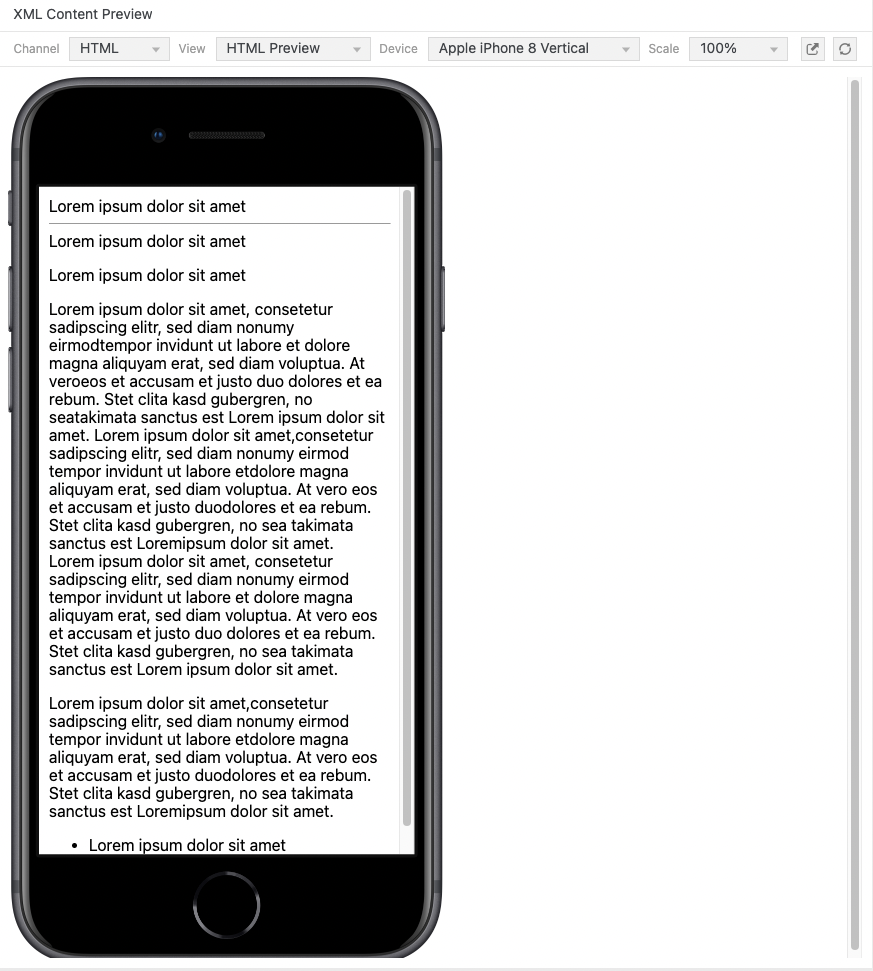
The HTML rendering uses the Online Channel of censhare.
How to use HTML

-
Select the channel for the preview: HTML.
-
Select the method for HTML rendering in View: HTML Preview or censhare:cs5.text-preview for text.
-
For HTML Preview, you can also select the Device that is used for rendering and the size of the preview in Scale.
-
The Open preview in a new window button opens the preview in another browser tab.
-
Click the Refresh button to update your preview.
How to use PDF

-
Select the channel for the preview: PDF.
-
The method for the PDF rendering is already set: XSL-FO: Article to PDF Transformation. There is only one transformation to select.
-
The integrated PDF-Viewer offers the following actions:≡ Menu: Shows or hide thumbnails of the pages of the previewUse + to zoom in or - to zoom outFit to width: Resize the preview to the size of the PDF window.Rotate Anti-clockwise: Rotate the preview in 90 degree steps.Download: Download a PDF of the preview.Print the PDF.More actions offers among others to switch to a Two-page view.
If you do not see a PDF preview but just a download button, check your browser setting how PDFs are handled.
Save your text
-
To save your changes, click the Xeditor Save button on the top left of the Xeditor widget: It saves your content changes in the current version of the storage item of the checked out Xeditor text asset. You can also use or Cmd+S (Mac) respective Ctrl+S (Windows) to save.
-
To save your changes in another asset version:Click the Xeditor Save button or press Cmd+S (Mac) respective Ctrl+S (Windows). This ensures that also your latest changes are saved that might not yet have been covered by the auto-update functionality.Click SAVE or SAVE & CLOSE of the Xeditor text asset itself. If you have opened the Xeditor in another browser tab, you must go to the Xeditor text asset browser tab and press SAVE or SAVE & CLOSE there.
-
If you have opened the Xeditor in another browser tab and close the Xeditor text asset via CANCEL, SAVE, or SAVE & CLOSE, you cannot edit in Xeditor browser tab anymore. You receive a message: "

-
Close the Xeditor browser tab and reopen the Xeditor at the Xeditor text asset page ." This is to prevent that you edit and loose your changes because you cannot save them anymore after the check-in of the Xeditor text asset!
-
If you have opened the text asset in another browser window, go to that browser window and reopen the Xeditor there. Now, go back to the Xeditor browser tab and reload the page. You can now also continue your editing here.
-
/*<![CDATA[*/ div.rbtoc1765452987850 {padding: 0px;} div.rbtoc1765452987850 ul {list-style: disc;margin-left: 0px;} div.rbtoc1765452987850 li {margin-left: 0px;padding-left: 0px;} /*]]>*/ Introduction Edit text Insert an XML element in text Change the type of an XML element Change or add attributes Insert pictures Delete pictures Use the preview widget Save your text