Description of Export / Import Process to Deploy Standard Portal Asset Structure as well as basic customizing.
Target groups
-
Administrator (OC)
Prerequisites
-
Administrator rights
-
censhare-Client (java)
-
OC version 2019.1 or higher
-
Admin Client (java)
Introduction
In Online Channel Projects you can use the basic Standard Portal Asset Structure as a starting point.
Step-by-step guide
Download Export packages in tracker
Ask Censhare to provide export package (no public access to release system)
Content of ZIP file
|
No |
Files |
Usage |
mandatory / optional |
|---|---|---|---|
|
1. |
Widget Dialogs (import assets java client) |
||
|
|
export-widget-dialogs.censhare-assets |
Widget dialog assets for Censhare web |
mandatory (check on target system) |
|
2. |
All Sites/Media Portal/Portal (import assets java client) |
||
|
|
export-[all-sites/media-porta/portal].censhare-assets |
Online channel asset structure |
mandatory |
|
3. |
Artikel-Editor Java Client (import assets java client) |
||
|
|
export-article-editors.censhare-assets |
Java Client Article editors for widgets, navigation e.g. |
optional |
|
4. |
Customizing |
||
|
4.1 |
Asset-Import Client (import assets java client) |
||
|
|
export-xslt-transformations.censhare-assets |
Product feature transformation [#85946] |
optional |
|
|
|
Copy outputchannel from parents [#45761] |
mandatory |
|
|
|
Add editor config to comment [#93077] |
mandatory |
|
4.2 |
XML Import Admin Client (import xml-file admin client) |
||
|
|
events.xml |
Events for serveractions |
mandatory |
|
4.3 |
Modul Images (copy and paste adaptable parts) |
||
|
|
aa-image-create-dynamic-image-cache-master.xml |
Dic Master Serveraction |
mandatory |
|
|
aa-image-create-include.xml |
Dic Master settings |
mandatory |
|
4.4 |
Modul Transformations (copy and paste adaptable parts) |
||
|
|
aa-xslt-execution-20180202-1138-0-comment.xml |
Schema for Comments in Censhare web |
mandatory |
|
|
aa-xslt-execution-20190318-1719-0-product-transformation.xml |
Product feature serveraction |
optional |
|
|
aa-xslt-execution-20190403-1515-0-trigger-description.xml |
Trigger for Product Feature Serveraction |
optional |
|
|
aa-xslt-execution-20190403-1739-0-trigger-product.xml |
Trigger for Product Feature Serveraction |
optional |
|
|
aa-xslt-execution-copy-output-channels-from-parents.xml |
Copy outputchannel from parents serveraction |
mandatory |
|
|
aa-xslt-execution-sync-image-crop-defaults.xml |
Dic Master cropping serveraction |
mandatory |
|
4.5 |
Modul Asset-Attribute 2 (copy and paste adaptable parts) |
||
|
|
aa-sync-rels-with-content-update-20150911-0902-0.xml |
Syncronize content relations serveraction |
mandatory |
|
4.6 |
Modul Video FFMPEG (copy and paste adaptable parts) |
||
|
|
aa-video-preview-20150225-1422-0.xml |
FFMPEG serveraction |
optional |
|
|
aa-video-preview-20151203-1043-0-watermark.xml |
FFMPEG serveraction |
optional |
|
5. |
censhare Web |
||
|
5.1 |
Go Live/Offline Serveraction (import asset in java client) |
||
|
|
export-go-offline.censhare-assets |
Go Offline Tranformation asset (Censhare web) |
mandatory |
|
|
export-golive.censhare-assets |
Go Offline Tranformation asset (Censhare web) |
mandatory |
|
5.2 |
Module Online Channel (copy and paste adaptable parts) |
||
|
|
go-live-action-20160602-1432-0.xml |
Go live Serveraction |
mandatory |
|
|
go-offline-action-20160602-1434-0.xml |
Go offline Serveraction |
mandatory |
|
6. |
Presets FFMPEG (import assets java client) |
||
|
|
export-ffmpeg-presets.censhare-assets |
Voreinstellung ffmpeg |
optional |
Import on target system
Note: The articles of the portal reference the new content editor of Censhare 5 web, so on a Censhare 5 system, the module assets of the package /optional/web/content-editor-scs have to be installed prior to the import.
Start import
-
Admin Client Modules → Asset Export/Import: Enable the asset import on admin client
-
Admin Client -> Services → Database: Enable "Constraint check" and disable after successfully imported files.
-
Create import folder on target system
-
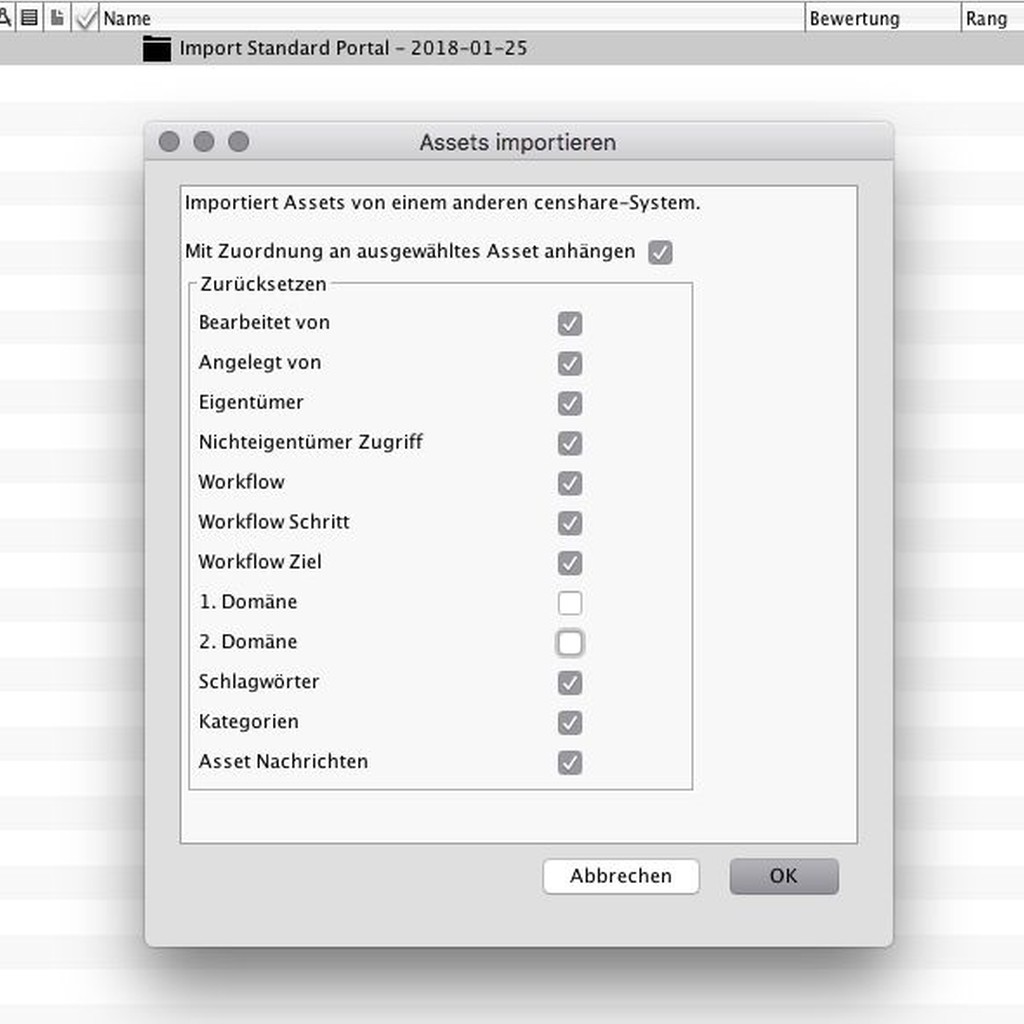
Run serveraction "Import Assets" on import folder, uncheck 1. Domain and 2. Domain
-
To use the prepared and downloaded zip for import, unzip and import *.censhare-assets or customize the xml files in the numerated order. Import Censhare assets from1 to 4.1, 5.1 and 6 (opt.)
-
After starting the import Censhare will prepare the assets and the metadata coming along to be imported. How long it takes depends on the file size of the import file (could be up to 20 minutes for 600 MB).
-
Before the asset will be finally created, an overview of the import metadata will be shown. Do not uncheck one of the metadata, and klick ok. At this time you can also cancel your imort and no assets were created.
Problems while importing the file
After concerning the metadata the assets and all relations will be created. Control import process in application server log. Common errors can be constraint check errors like
-
TABLE asset_feature CONSTRAINT asset_feature_un1 UNIQUE(value_asset_key, value_asset_key_feature)
→ Resource key already exists on target system
-
TABLE asset_feature CONSTRAINT asset_feature_fk9 FOREIGN KEY(value_string2, value_asset_key_ref) REFERENCES asset_feature(value_asset_key_feature, value_asset_key)
→ Resource key is missing on system
Finishing after Import
Customer specific adaptions
-
Define and create new output channels
→ Master data -
Define and create new domain (could be done later)
→ Master data -
Change resource key of permission assets "Permission group - Basic"
→ change resource key to [project]:online-group-portal-basic (change prefix to project specific name)
Clean up output channels and domains
-
Clean up output channels
-
Clean up not needed assets
→ Java Client: search for output channel customer.* and not customer.portal.* or customer.global.*
→ delete these assets
→ Java Client: search for output channel hcms.*
→ Remove hcms. outputchannel -
Not needed channels
→ Admin Client: delete master data and assign e.g. to output channel 'web' or another not needed output channels
→ Java Client: search for asset with ‚web‘ and remove this output channel from assets -
Assign channels
→ Admin Client: assign output channel 'customer.*' to project output channels by deleting output channel by output channel
→ e.g. customer.global.live. → project.global.live.
-
-
Clean up domains
-
Not needed domains
→ Admin Client: assign domains to project domains by deleting entry by entry
-
Change configurations
Site Configurations
→ search assets "Permission group - Basic" and "Permission group - Premium"
→ change asset ID in permissiongroups
→ change group-ref to adapted resource key of "Permission group - Basic"
<permissiongroups><!-- add permission groups to user asset -->
	<group-ref>[project]:online-group-portal-basic</group-ref>
	<premium>[#newID]</premium>
	<basic>[#newID]</basic>
</permissiongroups>
→ search for ‚customer‘ values and replace with project values e.g. domain and output channels
→ change newsletter URL to your target hostname
<newsletter url="http://your-domain.com/"/>
Satellite Configurations
→ rename assets containing string "customer" with project name in related assets
→ search for ‚customer‘ values in related assets and replace with project values e.g. domain and output channels:
-
DataStoreConfiguration
→ Set instanceid, output channels, and domain in expression of node <delete> -
OnlineChannelConfiguration
→ Set instanceid, datastoreid, requestlimiterid, output channel in expressions, and Site-URL e.g. for staging.XML<siteurl url="http://staging.your-domain.com"/>→ Set Set name of statistic Transformation if you rename the files related to Satellite Configuration.
XML<statistics transformation="Statistics Transformation MyName portal live.xsl"/>
-
StatisticsConfiguration
→ Set instanceid, adapt groupid (corresponding to serveraction) -
WebServerConfiguration
→ Set instanceid and hostid -
SessionManager bouncer
→ search asset ID from "Permission group - Bouncer", change ID in config node
Channel Assets
→ Configure Preview Urls in Channel Assets to your host name
→ for Portal Staging use: https://staging.your-domain.com
→ for Live Staging use: https://your-domain.com
Note: if Censhare web is running with https the preview urls needs to be https, too.
Component Asset: "Skin Generator Component"
→ Adapt output channels in all needed parameters
→ Adapt domain in all needed parameters
Share link configuration:
→ Change URL in Share link configuration [resource-key censhare:share-link-config]
→ URL: http://your-domain.com/en/downloads
Configurring Online Channel Site ID
Home Navigation Asset
→ Adapt feature "Online channel site ID as name of node siteid in the satellite configuration
<siteid name="project-portal-staging"/>

Group Asset "Resources" and "Resources Templates"
→ Adapt feature "Online channel site ID as name of node siteid in the satellite configuration
Reorganizing structure
Adapt search folders
→ rename group asset name "Standard Customer Portal" to customer name
→ change configurations of search folders to new output channels and domains
→ Delete Temp folders
Configure Services
DIC Master
-
Admin Client: Import file event-outputchannelset
→ use previously exported event-outputchannelset.xml (4.2) -
Module image: Create new serveraction "Automatic Image Create (Settings)" or adapt existing
→ open xml in admin mode
→ use previously exported "aa-image-create-include.xml" file (4.3) and copy and replace contet of node <settings> where setting id starts with "dic_master".
→ update serveraction -
Module image: Create new serveraction "Create additional Image (automatic) Dynamic Image Cache Master"
→ open xml in admin mode
→ use previously exported "aa-image-create-dynamic-image-cache-master.xml" file (4.3) and copy and replace nodes <listen-events>, <form> and <config>
→ update serveraction -
Make sure that asset with resource key "censhare:xslt-cmd_sync-image-crop-defaults" is availabel on system
-
Module transformations: Create new serveraction "Execute XSLT (automatic) - Sync Image Crop Defaults"
→ open xml in admin mode
→ use previously exported "aa-xslt-execution-sync-image-crop-defaults.xml" file (4.4) and copy and replace nodes <listen-events> and <config>
→ update serveraction
Inherit product metadata to article (opt.)
-
Make sure that asset with resource key "std_trigger-product-transformation_product-item-changed" is available on system
-
Module transformations: Create new serveraction "Execute XSLT (automatic) - Trigger Product Transformation - [Product Item Changed]"
→ open xml in admin mode
→ use previously exported "aa-xslt-execution-20190403-1739-0-trigger-product.xml" file (4.4) and copy and replace nodes <listen-events> and <config>
→ update serveraction
-
Make sure that asset with resource key "std_trigger-product-transformation_description-changed" is available on system
-
Module transformations: Create new serveraction "Execute XSLT (automatic) - Trigger Product Transformation - [Description Content Changed]"
→ open xml in admin mode
→ use previously exported "aa-xslt-execution-20190403-1515-0-trigger-description.xml" file (4.4) and copy and replace nodes <listen-events> and <config>
→ update serveraction
-
Make sure that asset with resource key "std_product-article-content-transformation" is available on system
-
Module transformations: Create new serveraction "Execute XSLT (automatic) - Product Transformation"
→ open xml in admin mode
→ use previously exported "aa-xslt-execution-20190318-1719-0-product-transformation.xml" file (4.4) and copy and replace nodes <listen-events> and <config>
→ update serveraction
Copy output channels from parent asset
-
Make sure that asset with resource key "censhare:xslt-cmd_copy-output-channels-from-parents" is availabel on system
-
Module transformations: Create new serveraction "Execute XSLT (automatic) - Copy Output Channels from Parents"
→ open xml in admin mode
→ use previously exported "aa-xslt-execution-copy-output-channels-from-parents.xml" file (4.4) and copy and replace nodes <listen-events> and <config>
→ update serveraction
Synchronize child relations with content
-
Module asset attributes 2: Create new serveraction "Synchronize child relations with content (automatic) - all assets type text"
→ open xml in admin mode
→ use previously exported "aa-sync-rels-with-content-update-20150911-0902-0.xml" file (4.5) and copy and replace nodes <listen-events> and <config>
→ update serveraction
FFmpeg (opt.)
-
Enable FFmpeg Service
-
Module FFmpeg: Enable Serveraction "Video Conversion"
-
Module FFmpeg: Create new serveraction "Video Conversion (automatic) - Standard Portal"
→ open xml in admin mode
→ use previously exported "aa-video-preview-20150225-1422-0.xml" file (6) and copy and replace nodes <listen-events> and <config>, copy and paste node <event-task-condition>
→ update serveraction
GoLive/GoOffline
-
Module Online Channel: Create new serveraction "Go Live Action - Portal"
→ open xml in admin mode
→ use previously exported "go-live-action-20160602-1432-0.xml" file (5.2) and copy and replace node <config>
→ update serveraction -
Module Online Channel: Create new serveraction "Go Offline Action - Portal"
→ use previously exported "go-offline-action-20160602-1434-0.xml" file (5.2) and copy and replace node <config>
→ update serveraction -
Java Client: Create new "Server action: Go Live" from template.
→ open Metadata
→ Edit feature "Server Action command name": Copy and paste command name from Serveraction in Admin Client
→ Make sure that feature "enabled" is checked -
Java Client: Create new "Server action: Go Offline" from template.
→ open Metadata
→ Edit feature "Server Action command name": Copy and paste command name from Serveraction in Admin Client
→ Make sure that feature "enabled" is checked -
Admin Client: Excecute Serveraction "Update web application configuration"
Install satellite
Install java 11 on the web server if not already present.
Check and adjust the online channel configuration files in the example satellite configuration #24098 (update ID!), check if ports and jvm configuration is suitable for your web server setup.
Copy the Censhare satellite installer file in the same version as the online channel bundles in the satellite configuration group to your web server. Unpack the installer, make it executable and excecute the file. Answer the installation questions. For satellite id use recommended schema : satellite.customer-portal-hostname. For public key authentication answer "Use RMI public key authentication?" with 1. After installation the certificate file will be inside the satellite directory.
Use the server action "Satellite create" on the satellite configuration group to create a new satellite instance providing the certificate you created in the previous step. After this your satellite should be able to connect to your application server and will start building up its database.
Depending on the operation system on the web server install the init script css_satellite.* from the bin directory of the satellite to ensure that the satellite is automatically stopped and started on operating system restarts.